Affiliate and AI Disclosure: This blog contains affiliate links. As an Amazon Associate, I earn from qualifying purchases. The content is generated with the assistance of AI, ensuring up-to-date and resourceful information.
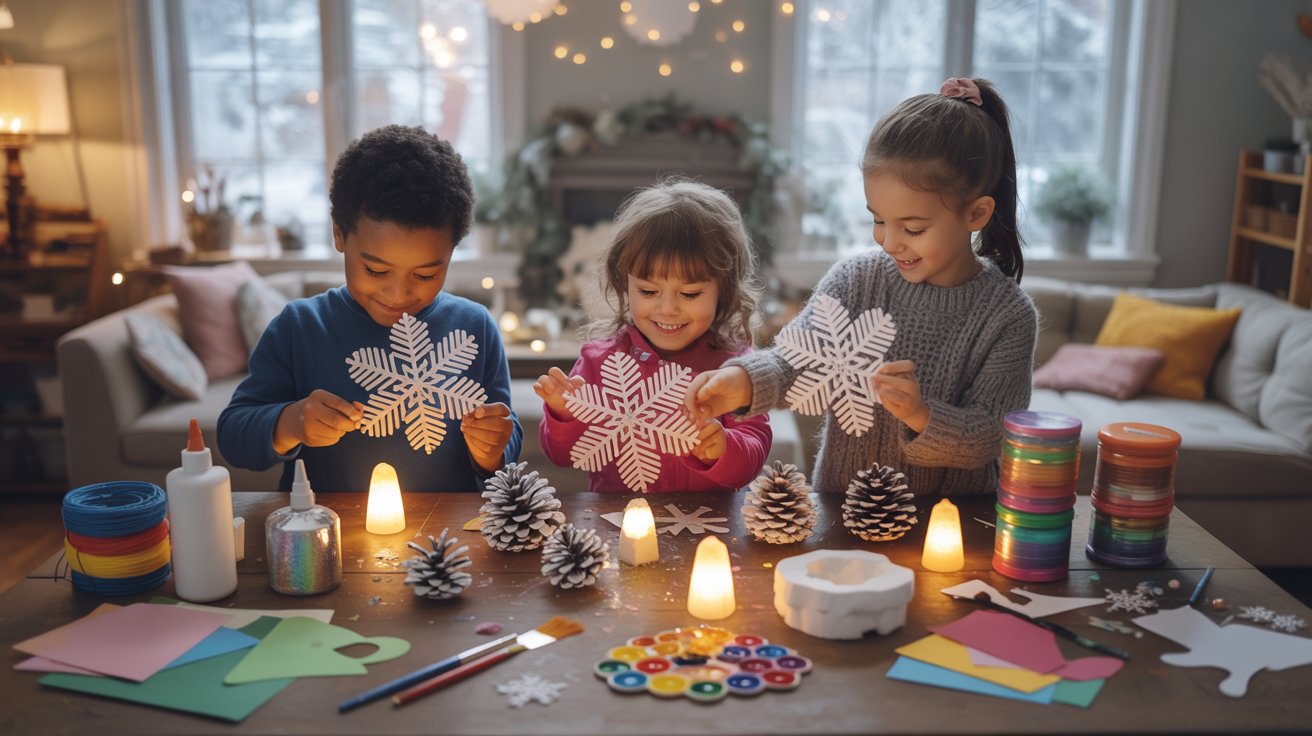
Hey moms! Snow days are magical, but they can also pose a real challenge when you’re stuck indoors with energetic kids longing for fun. Fear not—I’ve got some creative and easy snow day crafts that will captivate your little ones and save your sanity. From simple snowflake designs to delightful winter-themed activities, these crafts are designed for maximum fun with minimal mess. Ready to transform snow days from couch potato time to creativity galore? Let’s dive in!
1. Coffee Filter Snowflakes
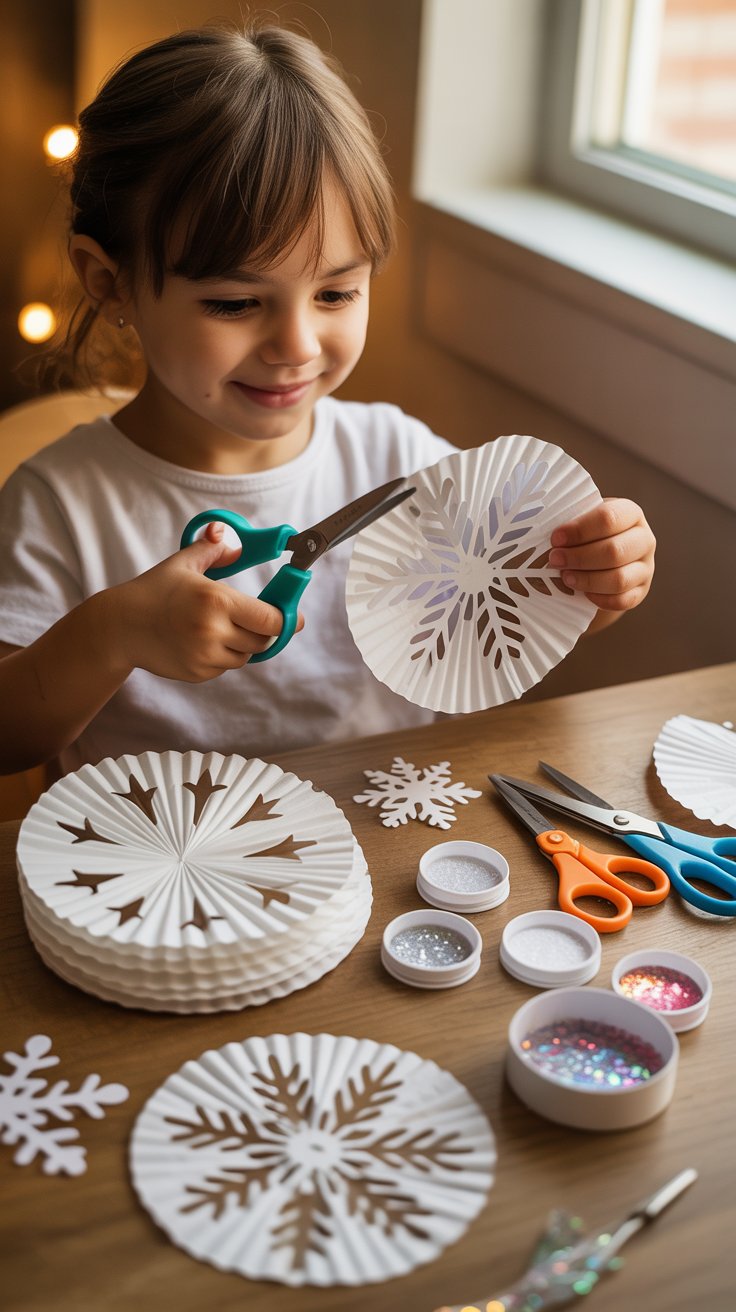
Bring the winter wonderland indoors with these delicate and beautiful coffee filter snowflakes. Using simple household items, you can guide your children in creating intricate designs that mimic real snowflakes. Opt for different sizes and colors to enrich the experience. Adding a splash of glitter gives each snowflake that magical, frosty touch.
- Shop the Look:
Dos & Don’ts:
- Do encourage individual creativity in snowflake designs.
- Don’t use glitter without a protective mat.
- Do explore colored filters for a vibrant array.
- Don’t forget to hang them up for display!
2. Sparkly Snow Playdough
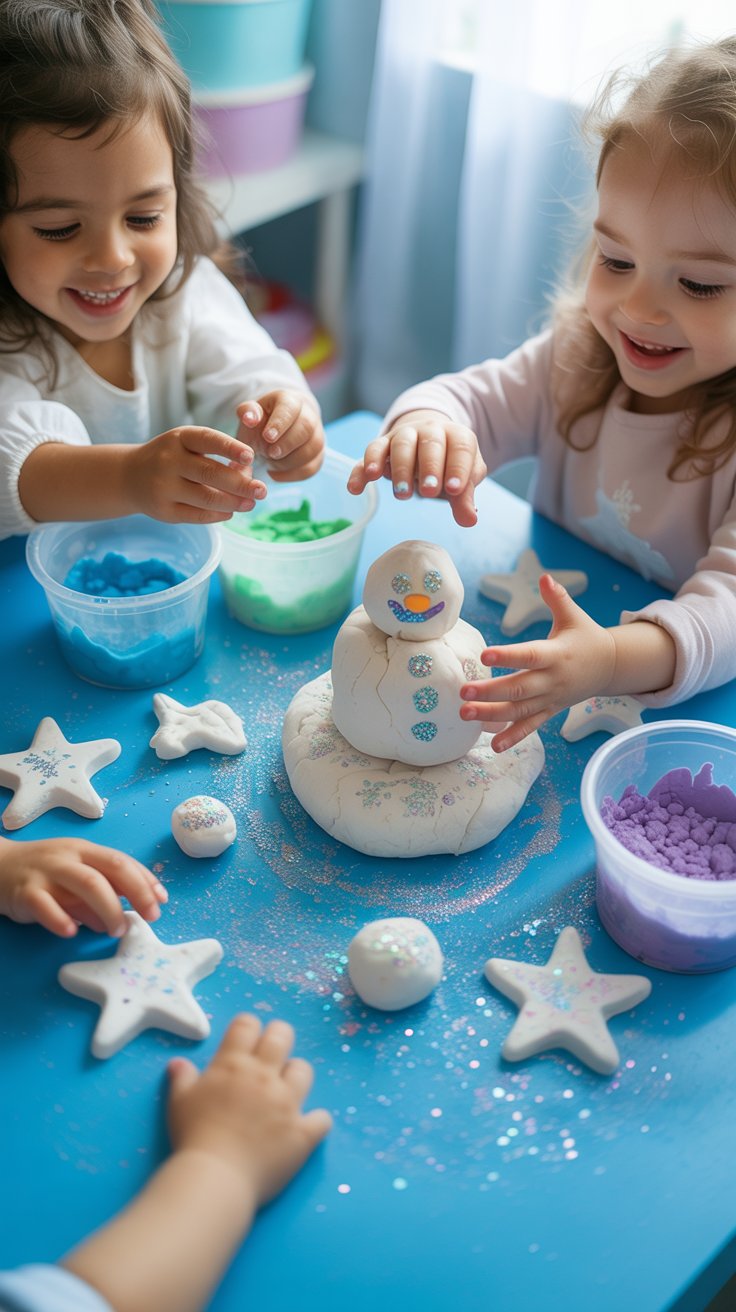
Transform a snow day into a sensory adventure with sparkly snow playdough. This fun craft blends creativity with tactile play, perfect for young hands eager to mold and shape. Made from flour, salt, and a touch of shimmer, this DIY dough brings the sparkle of freshly fallen snow indoors. Add a few drops of peppermint oil for a refreshing winter scent.
- Shop the Look:
Dos & Don’ts:
- Do mix in glitter for a magical effect.
- Don’t forget to supervise small children around glitter.
- Do store playdough in an airtight container for longevity.
- Don’t skip the essential oil for added fun.
3. DIY Snow Globe Jars
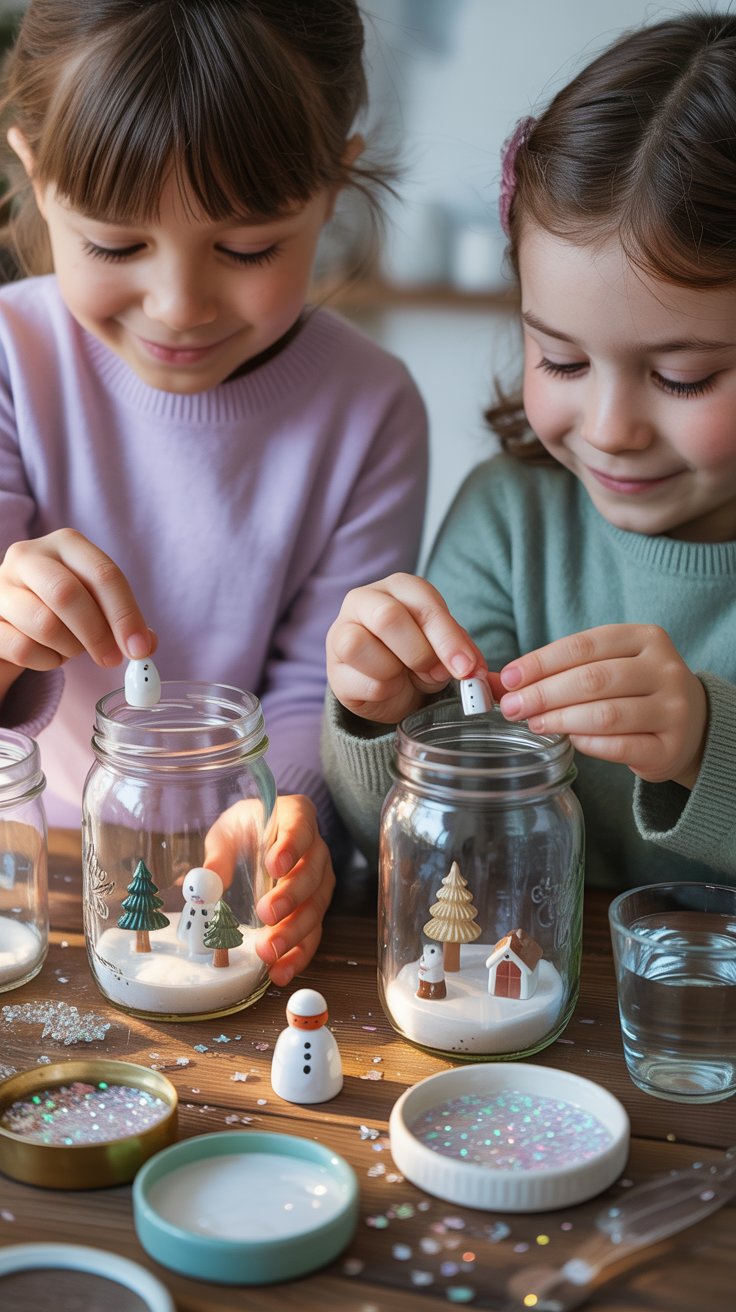
Bring the magic of a winter wonderland into your home with DIY snow globe jars. These charming crafts are perfect for capturing the spirit of the season. Use mason jars, water, glitter, and mini figurines to create captivating scenes. Allow each child to tailor their snow globe, encouraging imaginative storytelling and design.
Instructions:
- Secure the Figurine:
- Glue a mini figurine onto the inside of the jar lid and let it dry completely.
- Prepare the Jar:
- Fill the jar with water, leaving some space at the top.
- Add Glitter:
- Sprinkle a generous amount of glitter into the water for the snow effect.
- Add Glycerin:
- Add a few drops of glycerin to make the glitter fall slowly.
- Seal the Jar:
- Secure the lid tightly onto the jar with the figurine immersed and seal it.
- Shake and Enjoy:
- Shake your jar to create a snowfall effect inside your DIY snow globe.
This project captures the magic of winter while being a fun and interactive craft for kids.
- Shop the Look:
Dos & Don’ts:
- Do secure lids tightly to prevent spills.
- Don’t use water-soluble decorations.
- Do add glycerin to slow glitter fall.
- Don’t overfill with water.
4. Painted Pine Cones
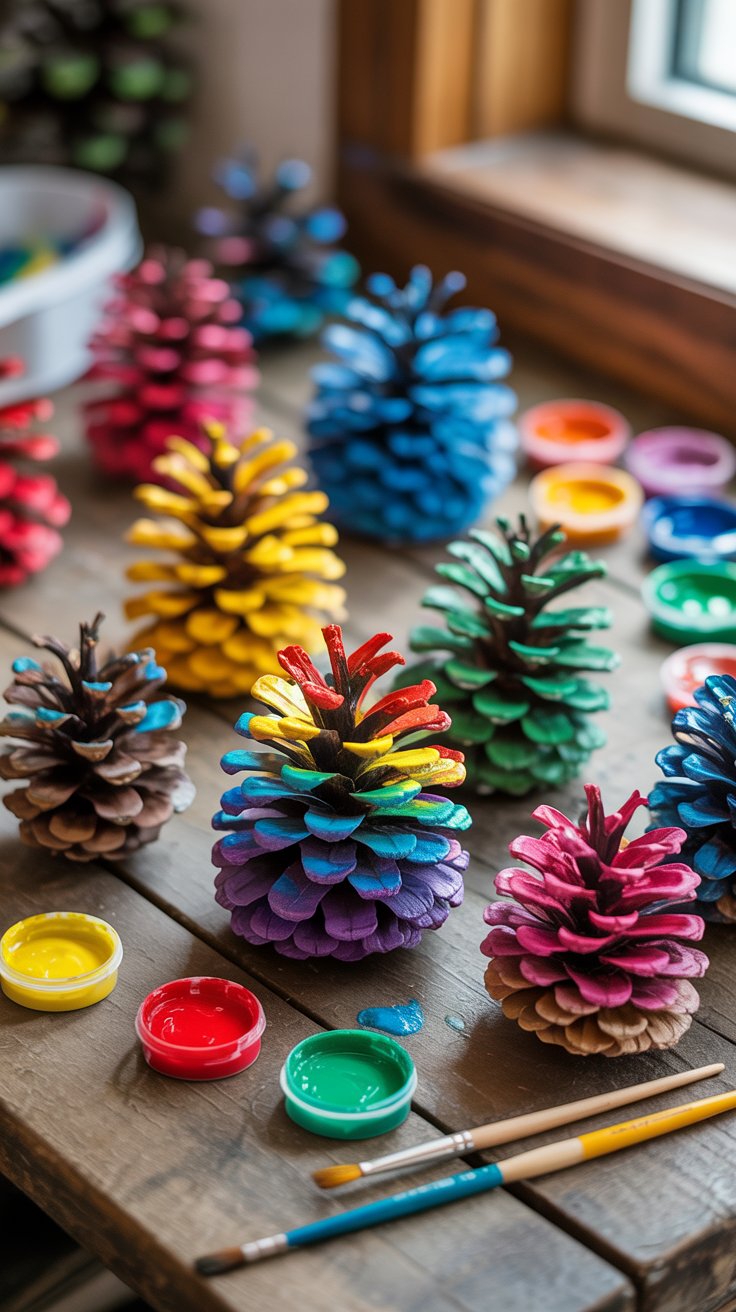
Utilize nature’s bounty by collecting pine cones and using them as canvases for colorful masterpieces. Acrylic paints work well for vibrant, long-lasting colors. Encourage your kids to use a variety of brushes and sponges for different textures, fostering creativity and fine motor skills.
- Shop the Look:
Dos & Don’ts:
- Do clean pine cones before painting.
- Don’t forget protective clothing.
- Do seal with spray for durability.
- Don’t skip drying between coats.
5. Snowflake Window Clings
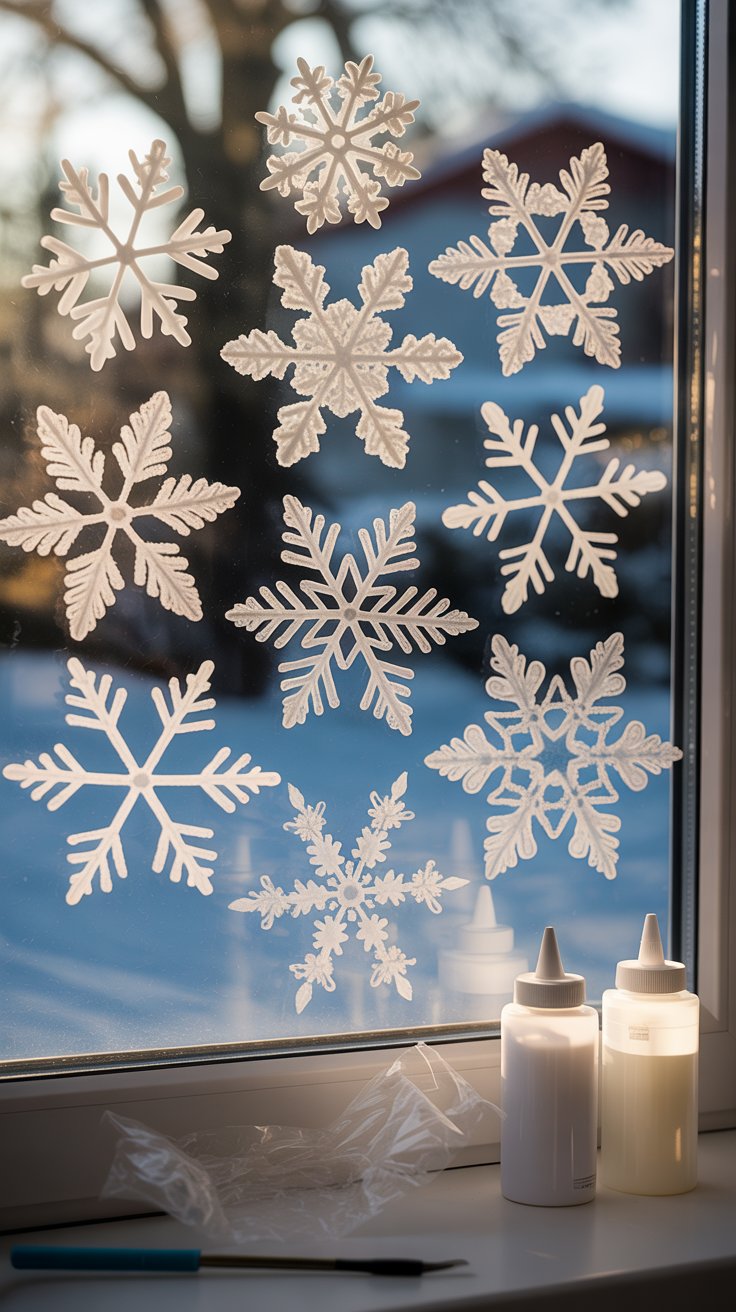
Create temporary window art with homemade snowflake clings, offering a wintery view both inside and out. Made from puffy paint and plastic wrap, these easy-to-remove decorations brighten any room. Customize shapes and sizes to make each snowflake unique.
Instructions:
- Prepare Your Workspace:
- Lay out a flat surface and cover it with plastic wrap. This will be your working area and will help with easy removal later.
- Create Your Design:
- Use template patterns under the plastic wrap if you prefer a guide. Otherwise, freehand your snowflake design directly onto the plastic wrap using puffy paint. Make sure the lines are connected well to maintain the design’s integrity.
- Add Details:
- Keep the designs as intricate or simple as you like. You can add details with different colors of puffy paint for a more vibrant appeal.
- Drying:
- Let your creation dry completely. This can take several hours or overnight to ensure that the paint sets properly.
- Peeling Off:
- Once dry, gently peel the snowflakes off the plastic wrap. Use craft tweezers for precision if necessary, to avoid tearing the paint.
- Decorate:
- Place your snowflake clings on clean windows. They should stick easily and brighten up your space with a festive look.
- Maintenance:
- If they become loose due to dust or humidity, simply wash them and reapply to the glass.
- Shop the Look:
Dos & Don’ts:
- Do allow full drying before peeling.
- Don’t apply to dirty windows.
- Do experiment with colors for variety.
- Don’t rub too hard when removing.
6. Felt Snowmen Ornaments

Felt snowmen ornaments are a fantastic way to introduce sewing with an easy, soft material that’s simple to work with. These cute decorations can be customized with buttons, ribbons, and fabric scraps. Guide your kids through basic stitches to create a snowman full of personality.
Instructions:
- Cut the Felt:
- Choose a simple snowman pattern or draw one on paper. Use this as a guide to cut out two identical snowman shapes from the white felt.
- Decorate the Snowman:
- Sew or glue buttons onto one piece to create the snowman’s face and buttons on its belly. Use thread to stitch or glue on a small piece of felt as a scarf and hat using different felt colors.
- Stitch the Snowman:
- Place the two snowman shapes together and sew around the edges using a basic stitch. Leave a small opening at the top.
- Stuff the Snowman:
- Lightly stuff the snowman with cotton or polyester stuffing through the opening to give it a 3D effect.
- Finish Sewing:
- Close the opening by continuing to sew around the snowman’s edge until it is fully sewn.
- Add a Loop:
- Sew a loop of ribbon or thread at the top of the snowman’s head so that it can be hung as an ornament.
- Shop the Look:
Dos & Don’ts:
- Do use big needles for little fingers.
- Don’t rush the learning process.
- Do add personal touches for uniqueness.
- Don’t skip knot tying tutorials.
7. Ice Lanterns
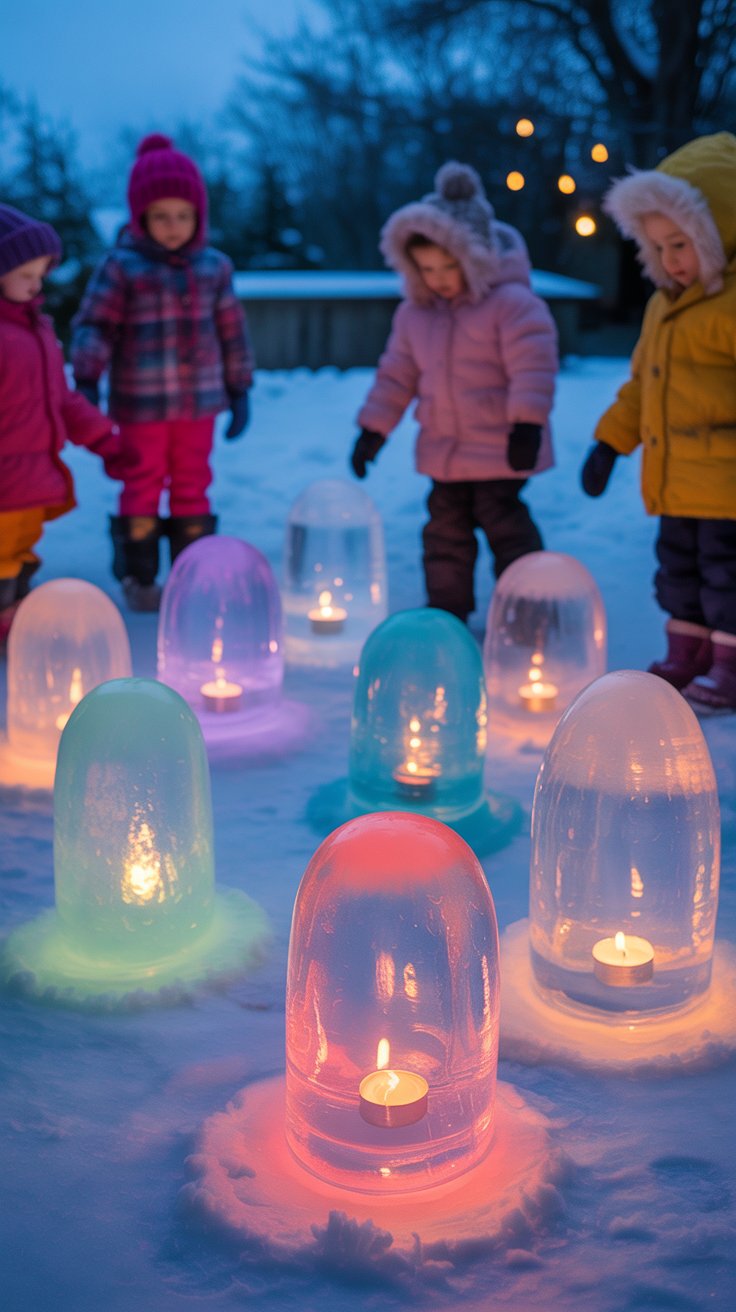
Turn your backyard into an icy wonderland with homemade ice lanterns. Using water, food coloring, and balloons, these ethereal lights glow beautifully when filled with a tealight candle. Perfect for evening enjoyment on a crisp winter night.
- Shop the Look:
Dos & Don’ts:
- Do monitor outdoor temperatures.
- Don’t light unattended candles.
- Do experiment with different colors.
- Don’t skimp on balloon quality.
8. Recycled Cardboard Igloos
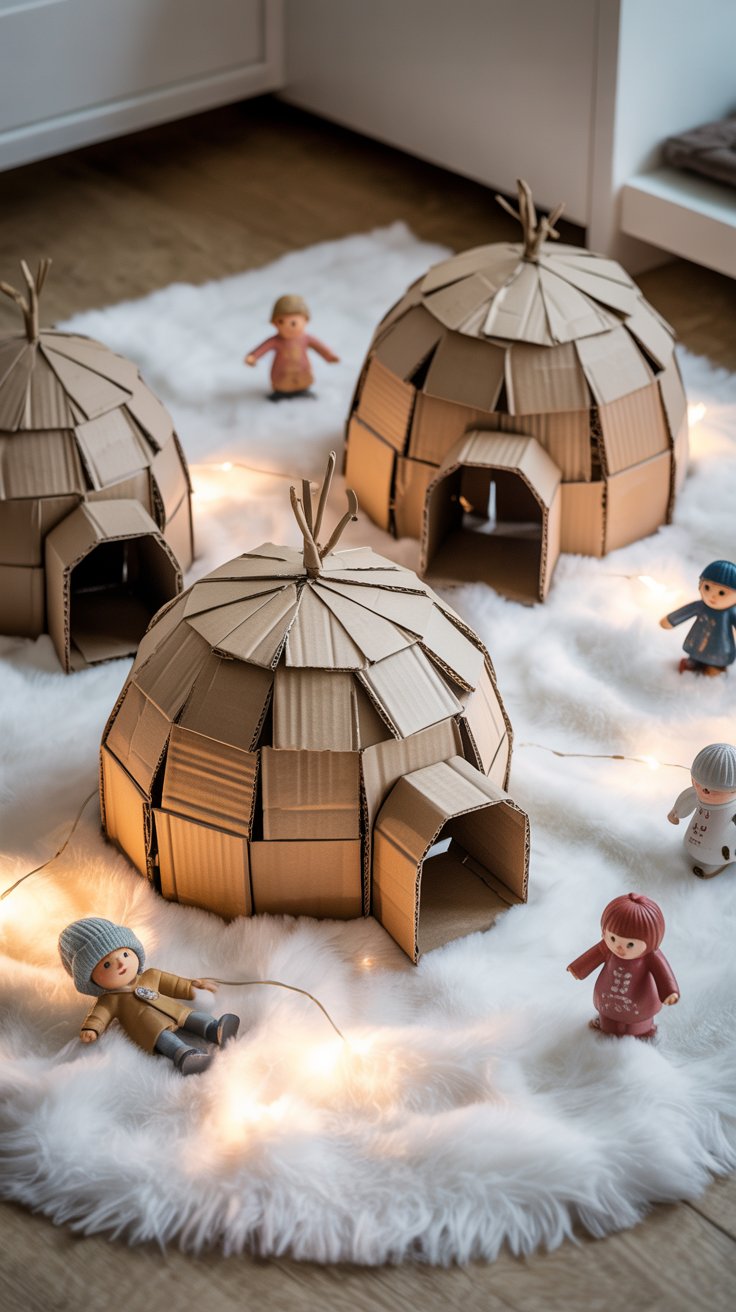
Get eco-friendly by repurposing cardboard into cozy igloos. With just a few cut-and-fold techniques, your children can craft delightful mini winter homes. Perfect for imaginative play and storytelling, these igloos are a creative way to pass the snowy day.
- Shop the Look:
Dos & Don’ts:
- Do plan layout before cutting.
- Don’t use thin cardboard.
- Do decorate for extra charm.
- Don’t leave them unattended outdoors.
9. Puffy Snow Paint
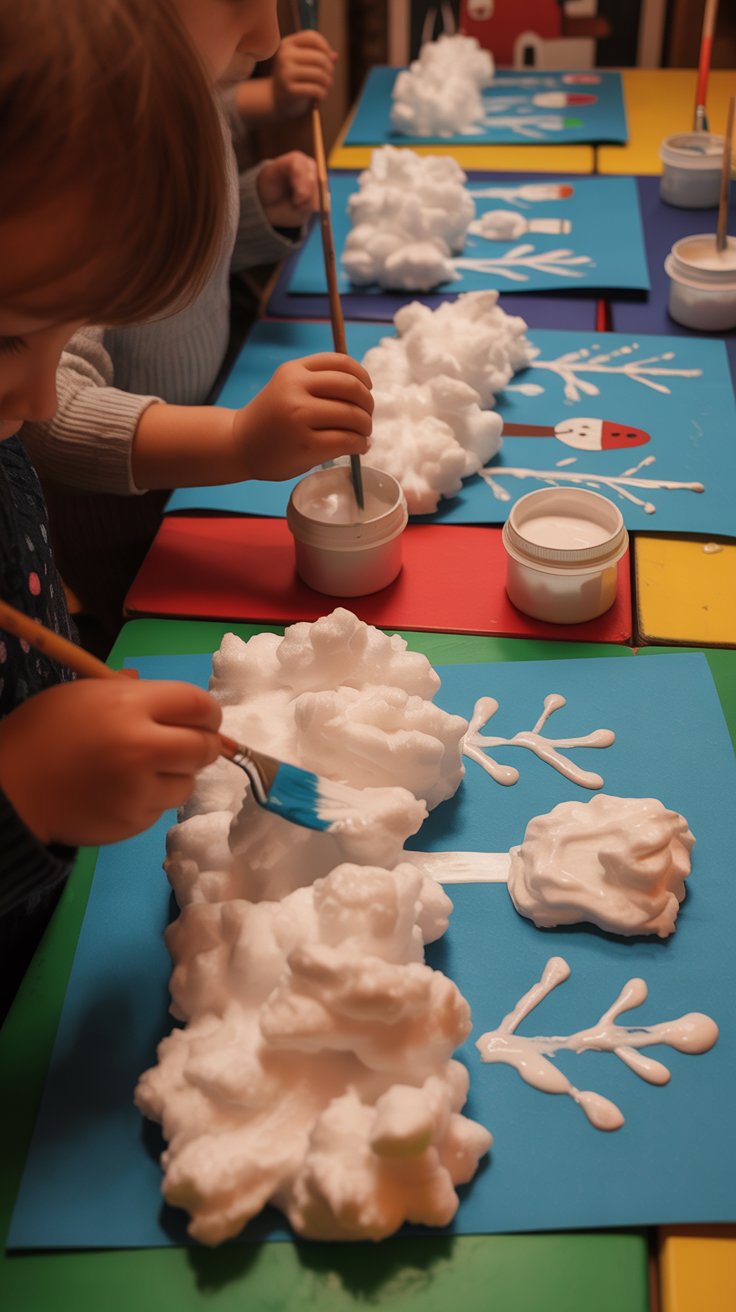
Create this unique snow paint by combining shaving cream and glue, adding a fluffy dimension to children’s artwork. It’s a simple and fun way to mimic the texture of real snow on paper. Kids can paint winter scenes that pop off the page!
Instructions:
- Mix Ingredients:
- In a bowl, combine equal parts of white craft glue and shaving cream.
- Add Color and Sparkle:
- Stir in glitter for a sparkly snow effect. Add a few drops of blue food coloring if desired for a wintry hue.
- Use Immediately:
- Use the paint immediately to create snow scenes on paper. It dries puffy and raised, adding texture to your artwork.
This craft activity offers a tactile and creative winter experience for kids, perfect for indoor snow-themed f
- Shop the Look:
Dos & Don’ts:
- Do stir for the right texture.
- Don’t add too much color.
- Do experiment with thickness.
- Don’t forget to clean brushes.
10. Woolly Hat Decor

Craft adorable mini woolly hats using yarn and toilet paper tubes. These cute and cozy decorations can hang on your Christmas tree or be displayed around the house. Kids will love choosing their favorite colors and adding miniature pom-poms for flair.
- Shop the Look:
Dos & Don’ts:
- Do use vibrant yarn colors.
- Don’t allow yarn to unravel.
- Do help with knotting.
- Don’t misuse scissors.
11. Pasta Snowflake Ornaments
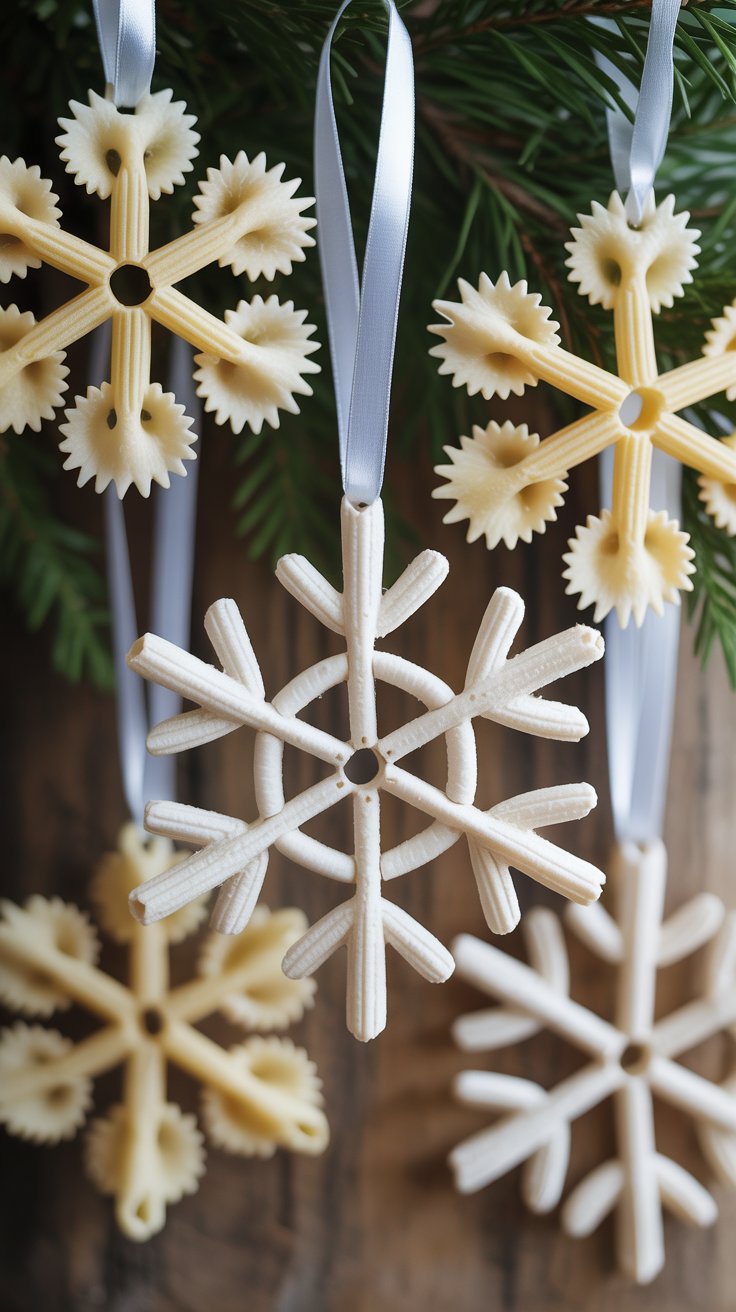
Turn ordinary pasta into extraordinary ornaments by painting dried pasta white and assembling unique snowflakes. This versatile craft is perfect for decorating your tree or giving as personalized gifts.
- Shop the Look:
Dos & Don’ts:
- Do use thick pasta for durability.
- Don’t spray paint indoors.
- Do add a clear sealant.
- Don’t allow young kids to handle hot glue.
12. Paper Plate Polar Bears
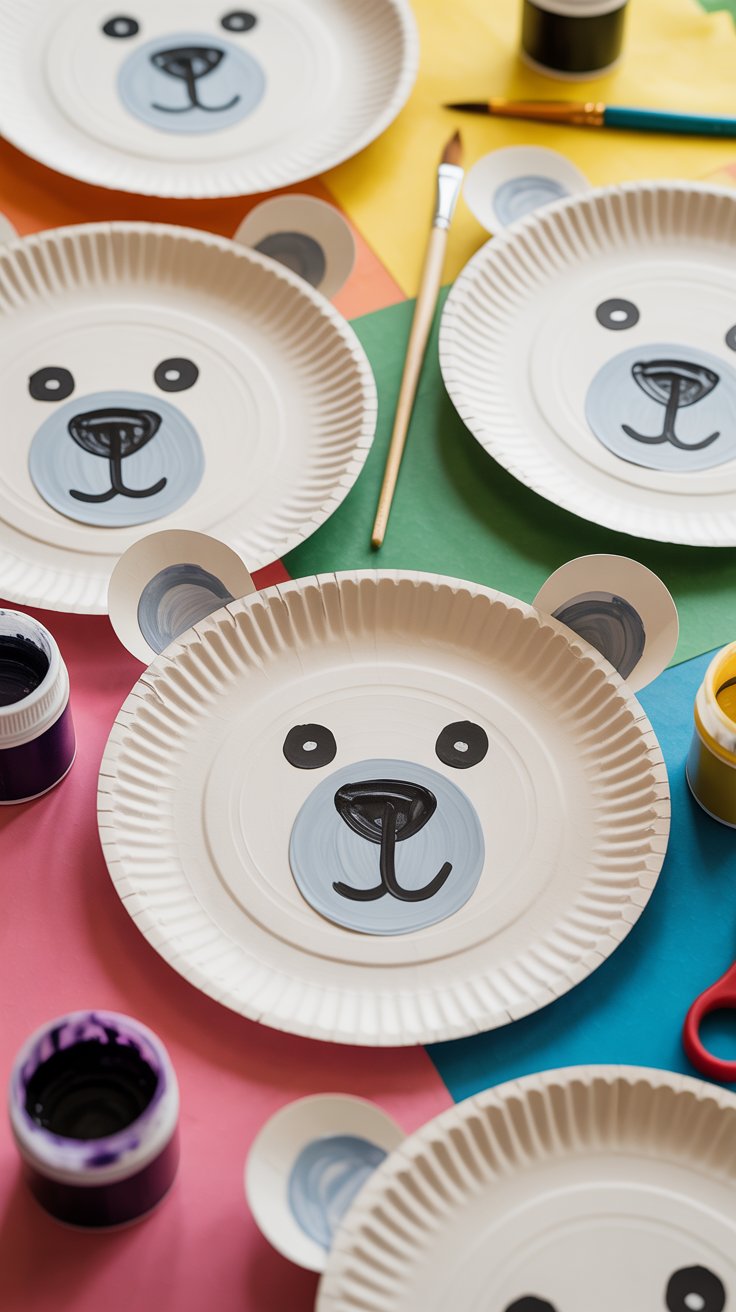
Turn simple paper plates into cute polar bears with some paint and a little imagination. This budget-friendly craft is great for developing fine motor skills and sparking creativity.
- Shop the Look:
Dos & Don’ts:
- Do prepare a clean workspace.
- Don’t let glue bottles clog.
- Do allow for drying time.
- Don’t use paint sparingly.
13. Frosted Sugar Crystal Trees

Craft edible trees using ice cream cones and green frosting, embellished with sparkling sugar crystals. These delicious doppelgangers of frosted trees are as enjoyable to make as they are to eat.
Instructions:
- Prepare the Cones:
- Set the ice cream cones upside down on a flat surface; these will be your tree bases.
- Frost the Trees:
- Use green frosting to cover the outer surface of the cones completely, shaping it to resemble tree branches.
- Add Sparkle:
- Sprinkle sugar crystals over the frosted cones immediately to give them a frosted, sparkling appearance.
- Finish and Enjoy:
- Once decorated, let them set for a few minutes and display them as edible holiday treats.
These frosted sugar trees are fun to make and delightful to eat, adding a sweet touch to your festive activities.
- Shop the Look:
Dos & Don’ts:
- Do sample ingredients for quality.
- Don’t overuse sugar crystals.
- Do oversee confectionary aspirations.
- Don’t store frosted cones without chilling.
14. DIY Tissue Paper Poinsettias
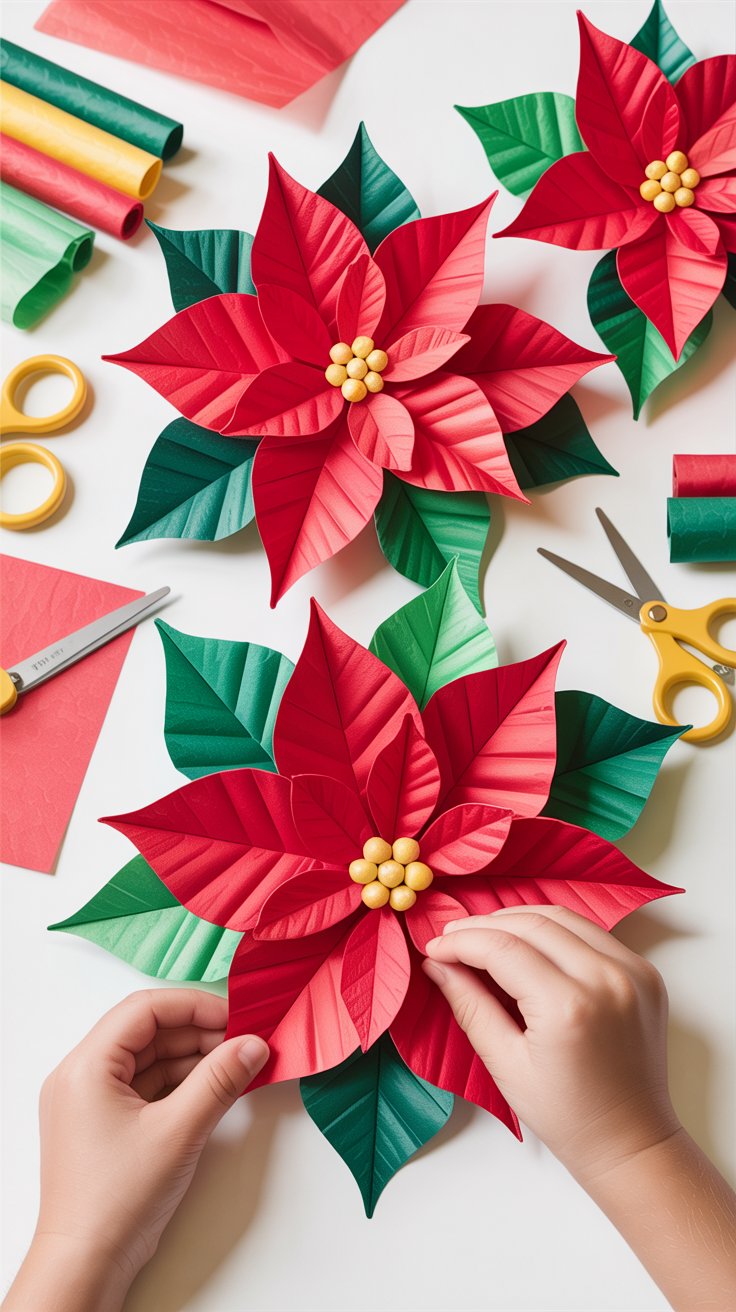
Brighten your home with vibrant paper poinsettias, a festive and fuss-free flower alternative. Easy to fashion from layered tissue paper, these blooms add a pop of holiday cheer anywhere they’re displayed.
- Shop the Look:
Dos & Don’ts:
- Do layer tissue for volume.
- Don’t forget extra wire for strength.
- Do color coordinate for variety.
- Don’t leave wire ends exposed.
15. Winter Yarn Pom-Pom Trees
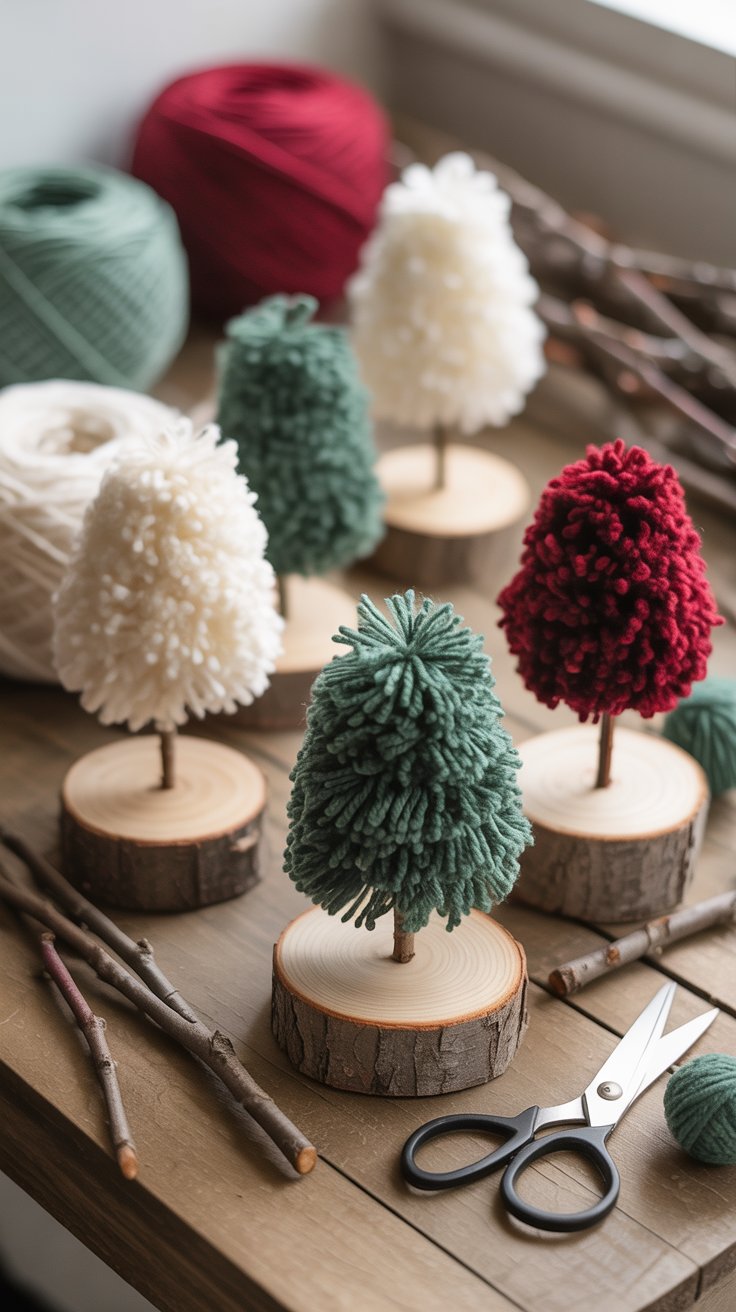
Create delightful pom-pom trees using yarn and twigs, adding color and texture to your homemade winter decor. This craft is a perfect way to involve the family in preparing for the season’s celebrations.
- Shop the Look:
Dos & Don’ts:
- Do twist yarn tightly for neatness.
- Don’t use fragile twigs.
- Do explore size variations.
- Don’t ignore need for balance.
Discover even more festive fun with our guide to 10 Fun and Easy DIY Christmas Crafts for Kids, perfect for adding a creative touch to your holiday celebrations!
Snow days no longer need to mean endless screen time and restless children. With a bit of preparation and creativity, you can turn a snowy day into a cherished memory filled with crafts, laughter, and learning. These 15 snow day crafts for kids not only entertain but also teach valuable skills and ignite imaginations. So next time you’re greeted with a winter wonderland, you’ll be ready with a lineup of engaging activities guaranteed to beat the boredom and cultivate creativity. Stay warm and crafty, moms!