Introduction
If you’ve ever scrolled Pinterest and thought, “I could totally make that!” — this is your sign. These DIY sock gnomes are one of those crafts that are almost too easy and ridiculously cute.
You don’t need to sew, measure, or stress — just grab a few cozy socks, some rice, and a touch of creativity. Whether you’re decorating for Christmas, adding a touch of whimsy to your mantel, or crafting with the kids, these little gnomes bring instant charm (and smiles).
So, light a candle, put on your favorite playlist, and let’s get crafty together. 🕯️✨
Materials Needed
-
A pair of socks (colorful, patterned, or fuzzy ones work best)
-
Optional: buttons, fabric scraps, or tiny ornaments for extra flair
💡 Tip: You can find adorable patterned socks and wooden beads on Amazon — they’re perfect for this cozy craft.
Step-by-Step Instructions
Step 1: Create the Gnome Body

Start by choosing a soft, colorful sock for your gnome’s body — fuzzy or patterned ones look especially cute!
Pour about 1 to 1½ cups of rice or poly-pellets into the sock using a funnel (or roll a piece of paper into a cone if you don’t have one). Gently shake the sock so the filling settles evenly at the bottom.
Once it feels firm and stands upright on its own, tie the open end tightly with a rubber band or piece of twine. You want it snug enough that the rice doesn’t escape, but not so tight that the top bunches awkwardly.
👉 Tip: The fuller the sock, the chubbier your gnome — adjust based on how big you want them!
Step 2: Make the Hat
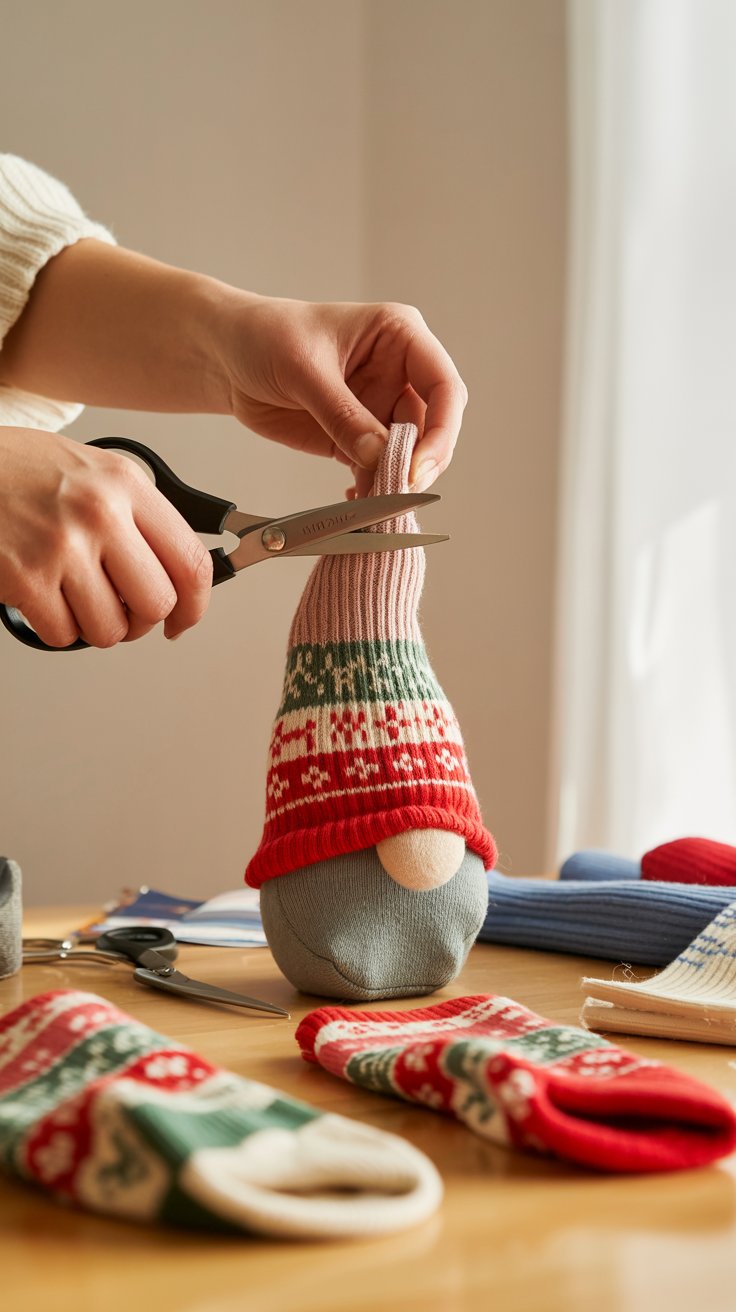
Grab your second sock — this one will become the gnome’s hat.
Cut off the foot section of the sock so you have a tube shape. Stretch it gently and slide it down over the top of your filled body, adjusting until it sits at a cute angle.
You can leave the end floppy for that classic Scandinavian look or tie it off with a small string or pom-pom for a cozier winter vibe.
Secure the base of the hat with a few dabs of hot glue so it doesn’t slip, especially if you plan to display your gnome upright.
👉 Style idea: Try plaid socks for Christmas, soft pastels for spring, or neutral knits for everyday farmhouse décor.
Step 3: Add the Beard
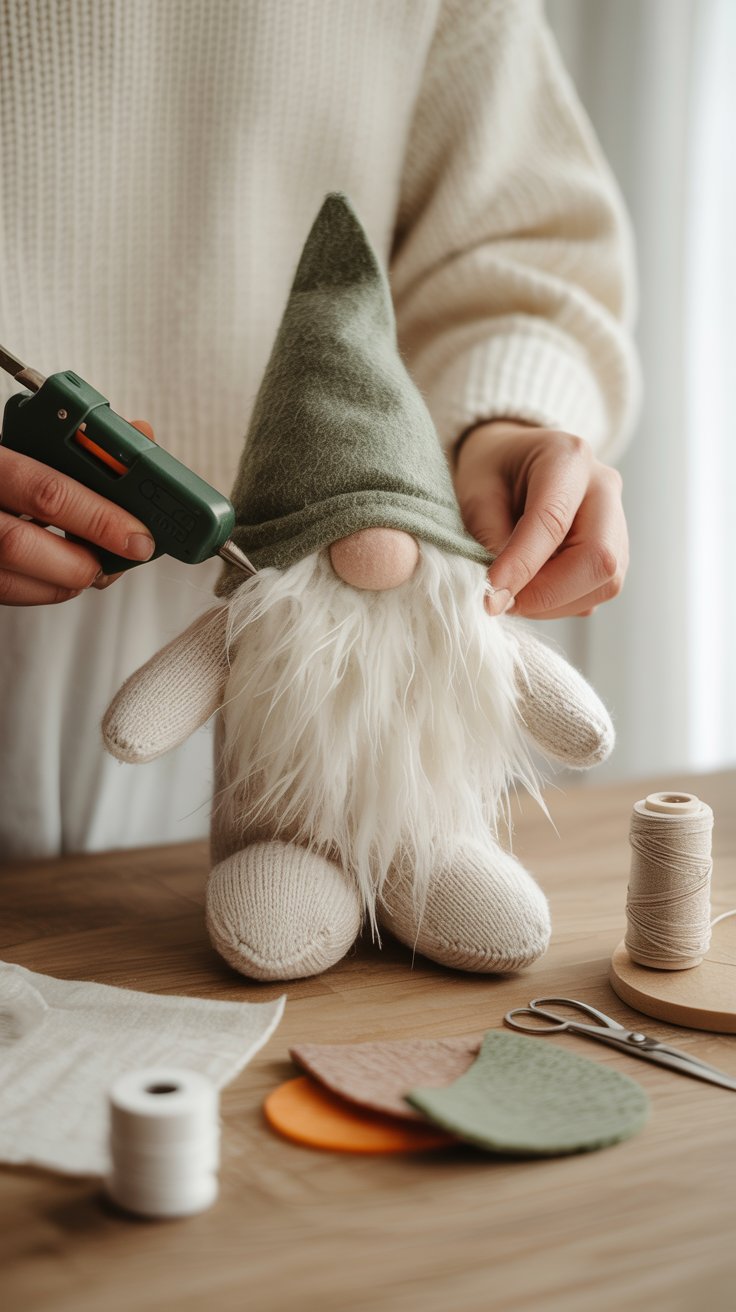
Cut a triangle or semi-circle shape from faux fur or fuzzy felt — about 3–4 inches wide works well for a medium gnome.
When cutting faux fur, flip it over and cut only the backing fabric, not the fur itself — this keeps the edges soft and natural-looking.
Glue the beard to the front of your sock body, positioning it just below the edge of the hat. Press gently for a few seconds to make sure it sticks firmly.
👉 Optional: Trim the beard slightly shorter on the sides to give it a neat, rounded shape.
Step 4: Add the Nose
Take your wooden bead, pom-pom, or small felt ball — this will be your gnome’s nose.
Apply a dab of hot glue to the back and press it right at the top center of the beard, tucking it slightly under the hat’s edge.
This creates that adorable peek-a-boo look gnomes are known for!
👉 Tip: For extra detail, dust a tiny bit of blush or light pink paint on the wooden bead to give your gnome rosy cheeks.
Step 5: Add Personality and Details
Now the fun part — give your gnome some personality!
You can hot-glue tiny buttons down the front, wrap a bit of twine like a scarf, or even add a mini Christmas ornament or sprig of greenery.
If you’re making several, try giving each one a unique hat color or accessory — they look adorable grouped together on a tray or mantel.
👉 Bonus: Add a small tag with names if you plan to gift them; they make sweet handmade presents for friends, teachers, or neighbors.
DIY Tip 💡
Switch up your sock patterns for different seasons — plaid for Christmas, pastels for spring, or neutrals for everyday farmhouse vibes!
Conclusion
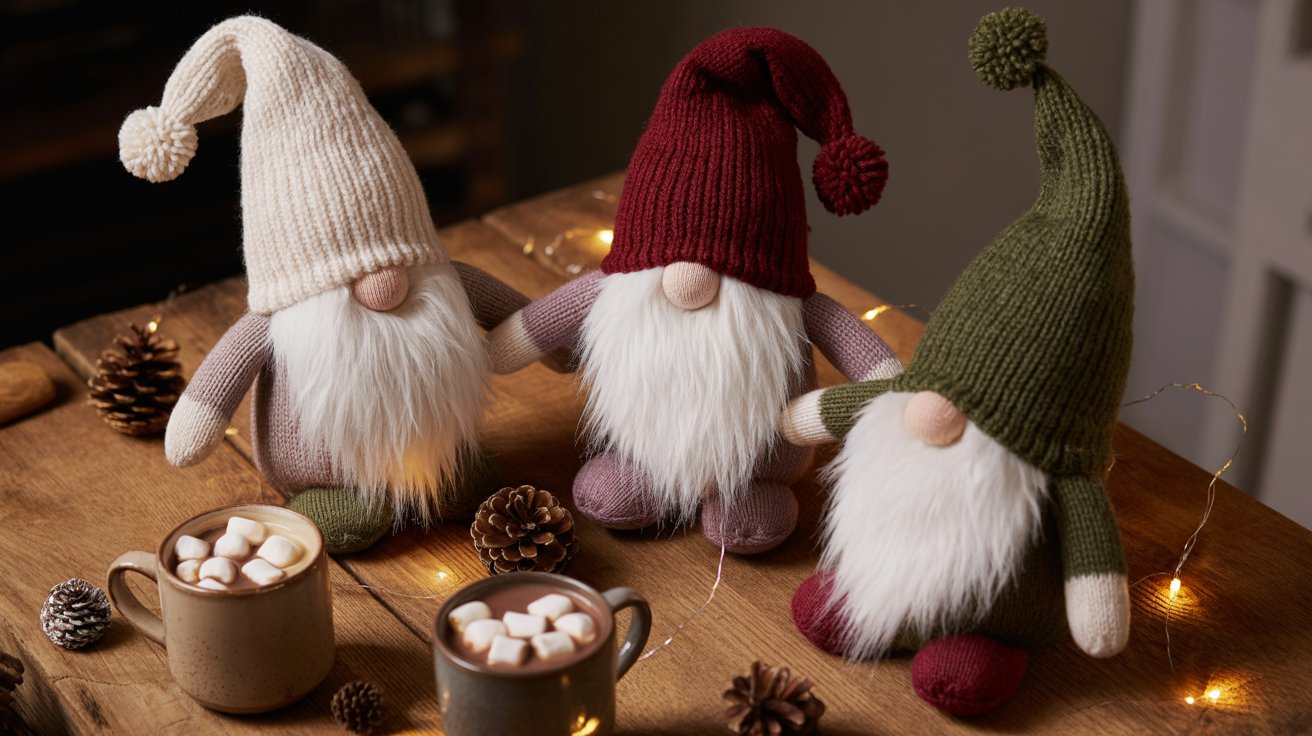
And that’s it — your very own cozy sock gnome! 🧙♂️✨
This easy DIY is proof that simple crafts can be both relaxing and beautiful. They make the sweetest handmade gifts or a fun project for a chilly afternoon at home. So next time you have a mismatched sock (or three), you know what to do!

