Rainy days don’t have to be boring! When the weather keeps you inside, it’s the perfect time to get creative with paper. Paper is something almost everyone has at home, and with just a few folds, cuts, and glue, you can turn it into something amazing. In this blog, you’ll find 10 easy paper crafts anyone can make—no fancy tools needed! These crafts are fun for kids, parents, or even grandparents who want to join in. Get your scissors and markers ready, and let’s make some colorful memories together!
📝 Disclosure
This post may contain affiliate links, which means I may earn a small commission (at no extra cost to you) if you purchase something through the links I share. I only recommend products I personally find useful for these crafts.
Some parts of this blog were created with the help of AI writing tools to make instructions easier to follow. All ideas, crafts, and reviews are my own.
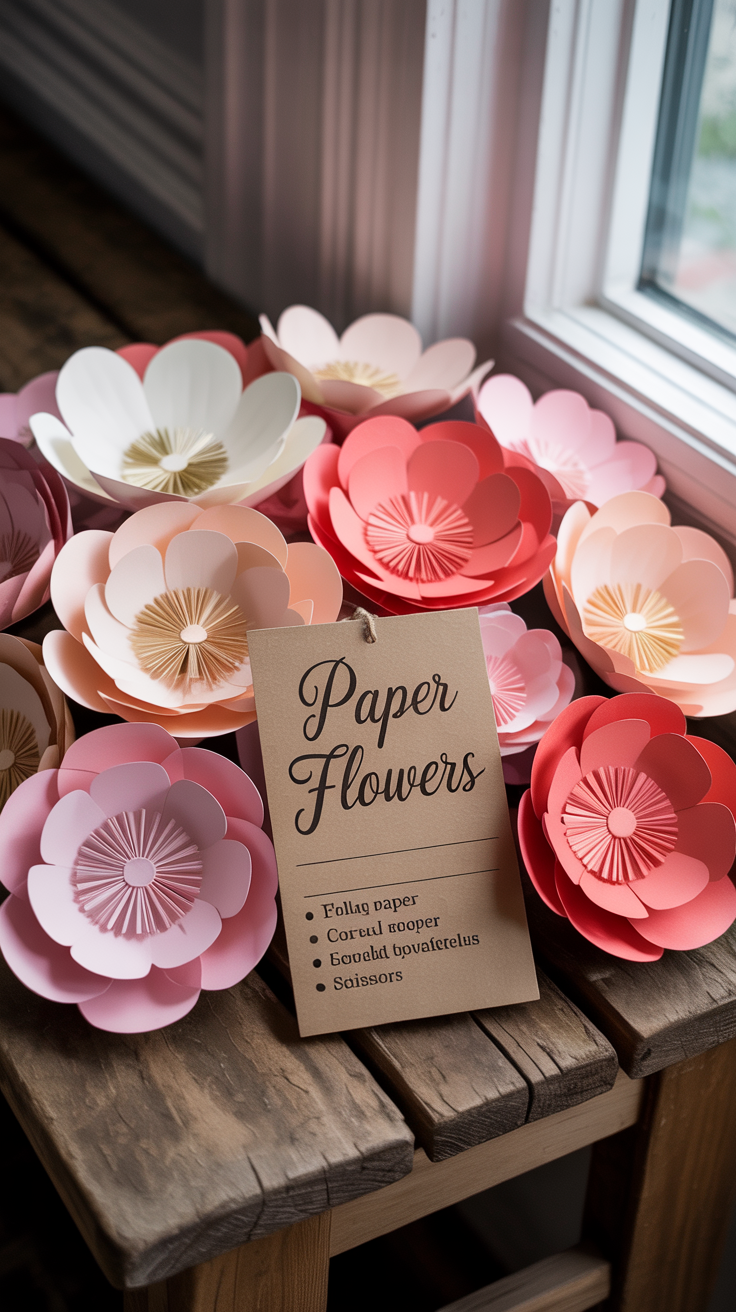
1.🌸 Paper Flowers
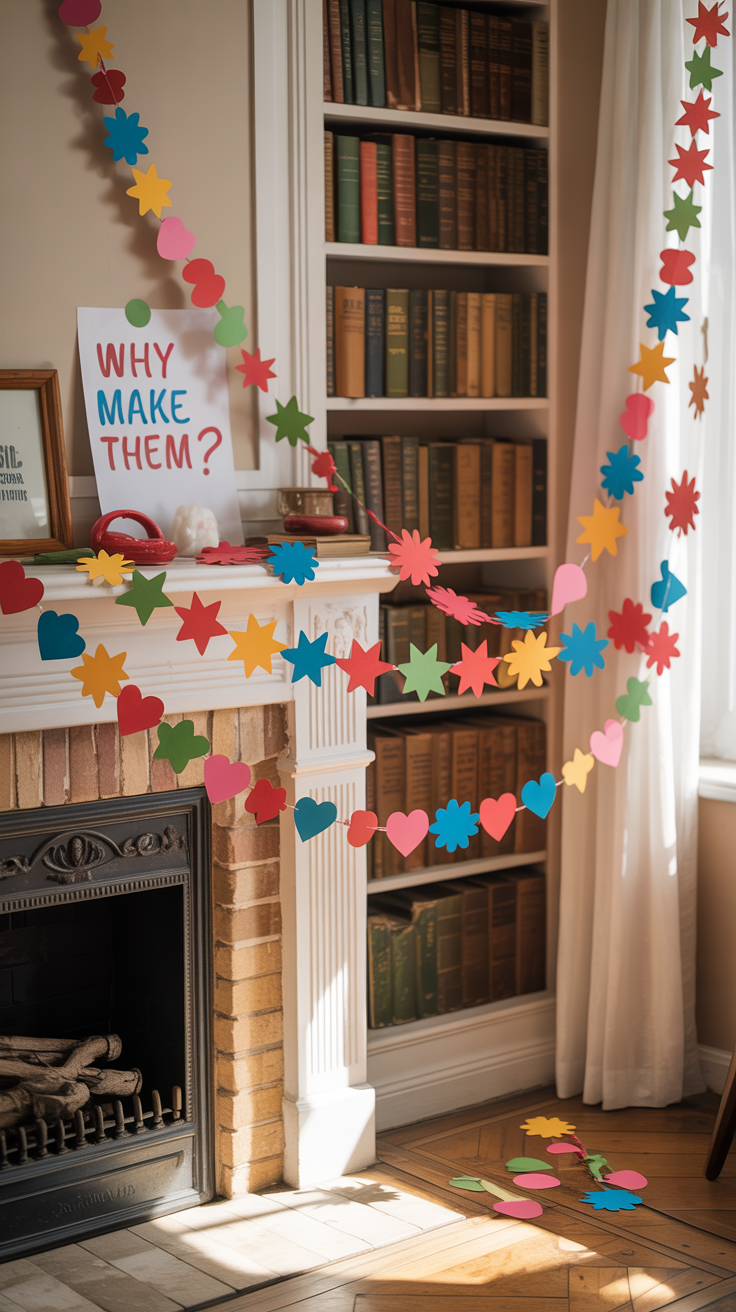
Why Make Them?
Paper flowers are the perfect way to bring a little sunshine indoors—no watering required! They’re cheerful, budget-friendly, and can brighten up any space in minutes. Whether you’re decorating a party, surprising a friend, or just looking for a calming craft on a rainy afternoon, paper flowers are a sweet and simple project anyone can enjoy.
Shopping List (Supplies You’ll Need):
-
Colored craft paper (any color you like)
-
Scissors
-
Pencil
-
Ruler
-
Glue stick or liquid glue
-
Green pipe cleaners or wooden skewers (for stems)
-
Tape (optional)
Instructions (Step-by-Step):
-
Choose Your Paper:
-
Select a bright color for petals and green for leaves.
-
-
Cut Petal Shapes:
-
Fold a sheet of colored paper in half.
-
Draw a simple petal shape with your pencil (like a teardrop or oval).
-
Cut out several identical petals (around 6–8 for one flower).
-
-
Shape the Petals:
-
Slightly curl the edges of each petal by rolling them gently around a pencil.
-
This gives the petals a more natural look.
-
-
Create the Flower Center:
-
Cut a small strip of yellow or contrasting paper.
-
Fringe one side with scissors (tiny snips across the strip).
-
Roll it up tightly to make the center of the flower and glue it together.
-
-
Assemble the Flower:
-
Glue the petals one by one around the flower center, overlapping slightly.
-
Hold each petal in place for a few seconds until secure.
-
-
Make the Stem:
-
Attach a pipe cleaner or skewer to the base of the flower with tape or glue.
-
Wrap it with green paper if desired.
-
-
Add Leaves:
-
Cut leaf shapes from green paper.
-
Glue them onto the stem.
-
Creative Uses:
-
Use as table centerpieces.
-
Add to gift wrapping for a handmade touch.
-
Make a whole bouquet for display.
2.📚 Origami Bookmarks
Why Make Them?
If you love reading, origami bookmarks are a fun way to add a little personality to your books. They’re quick to make, totally customizable, and slip neatly over the corner of your page so you’ll never lose your spot again. Plus, they make adorable little gifts for friends, teachers, or kids who are just starting to read.
Shopping List (Supplies You’ll Need):
-
Square sheets of paper (origami paper works best, but you can cut printer paper into squares)
-
Markers, pens, or colored pencils for decorating
-
Scissors (optional, for trimming or extra details)
-
Glue stick (optional, if adding paper decorations like eyes, ears, or hearts)
Instructions (Step-by-Step):
-
Start with a Square:
-
Take a square piece of paper. Place it in a diamond shape (point facing up).
-
-
Fold in Half:
-
Fold the diamond in half from bottom to top, making a triangle.
-
-
Create a Pocket:
-
Fold the top layer of the triangle’s point down to meet the base of the triangle. This makes a little flap.
-
-
Fold the Corners:
-
Take the left and right corners of the triangle and fold them up to the top point.
-
Then tuck these corners into the flap you created in step 3, forming a neat pocket.
-
-
Decorate:
-
Now you have a plain corner bookmark! Add details—draw a silly face, glue on ears to make animals, or add shapes to match a theme (hearts, stars, etc.).
-
Creative Uses:
-
Use them in your favorite book, journal, or planner.
-
Make a batch to hand out as party favors or classroom prizes.
-
Create seasonal designs—pumpkins for fall, snowmen for winter, or flowers for spring.
-
Pair with a handmade card or book as a thoughtful gift.