
March is a magical month that bridges the crisp final days of winter with the budding warmth of spring. As the beauty of the season unfolds, it’s time to get creative with your little ones, satisfying their curiosity and desire for fun with delightful DIY projects. Whether it’s capturing the vibrant hues of the season or celebrating festive days like St. Patrick’s, these kids rafts for March are designed to engage and inspire. Dive into the world of crafting and discover ten wonderful projects that your kids will love, keeping boredom at bay and igniting their imagination.
1. Rainbow Paper Plate Tambourines
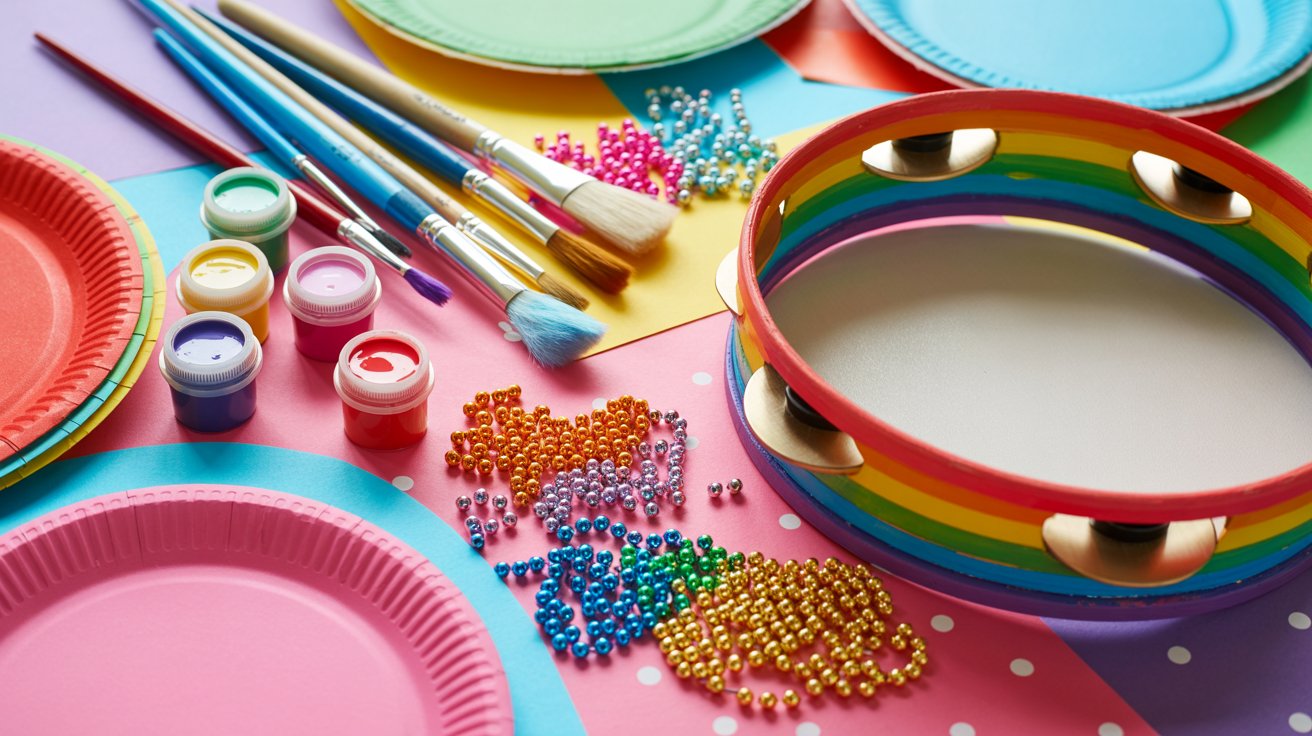
Transform simple paper plates into vibrant tambourines that mimic the colors of rainbows. For this tactile craft, use bright paints in shades of red, orange, yellow, green, blue, and purple to decorate both sides of two paper plates. Staple the edges together, leaving a small gap to fill with beans or beads before sealing completely. These tambourines are the perfect way for kids to enjoy music while exploring colorful art!
Shop the Look:
Dos & Don’ts:
- Do encourage creativity with color combinations.
- Don’t use staples without supervision.
- Do let the paint dry completely before assembling.
- Don’t overfill the tambourine to avoid spillage.
2. Shamrock Suncatchers
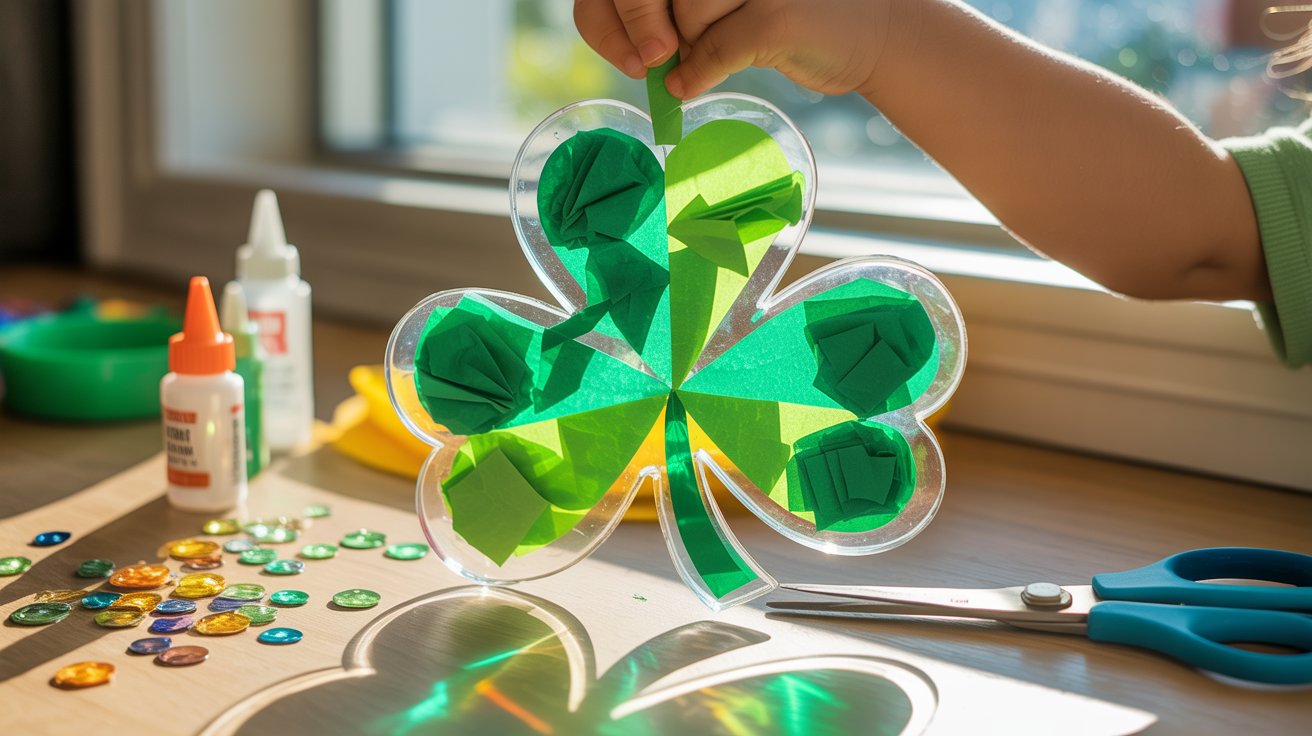
Bring the essence of St. Patrick’s Day into your home with these sparkling shamrock suncatchers. Begin by cutting shamrock shapes out of wax paper and apply a thin layer of clear glue. Sprinkle green tissue paper squares, glitter, or sequins onto the gluey surface for added sparkle and vibrancy. Once dry, hang these suncatchers in a sunny window to watch them glisten and glow, capturing the magic of the holiday and the early spring sun.
Shop the Look:
Dos & Don’ts:
- Do use simple shapes to make cutting easier for kids.
- Don’t allow glitter to spill—use trays for easy clean-up.
- Do hang with clear tape for an invisible effect.
- Don’t forget to cover your workspace to protect surfaces.
Affiliate disclosure: “This website contains affiliate links. As an Amazon Associate, I earn from qualifying purchases.”
3. Leprechaun Paper Bag Puppets

Unleash creativity with adorable leprechaun puppets made from simple paper bags. Decorate the bags using construction paper to create hats, beards, and facial features in shades of green and orange. Your kids will love crafting each tiny character and then bringing them to life with imaginative play. This craft combines colorful creativity with storytelling, perfect for St. Patrick’s Day fun!
Materials Needed:
Dos & Don’ts:
- Do personalize each puppet with unique features.
- Don’t forget to decorate both sides for complete puppets.
- Do use glue sticks to prevent messes.
- Don’t skip supervision when using scissors.
4. Spring Flower Crown
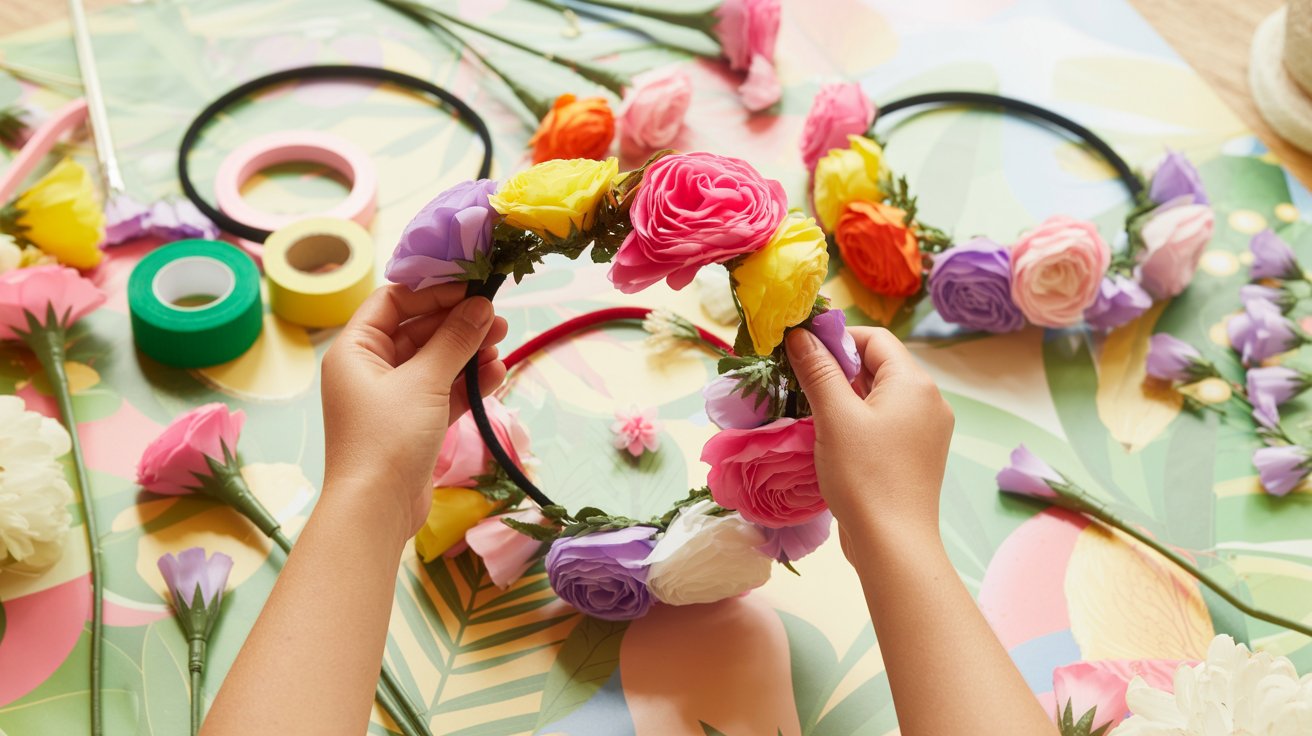
Celebrate the bloom of spring by crafting beautiful flower crowns that your kids can wear or use for dress-up play. Use artificial flowers in vibrant colors and arrange them onto a flexible crafting wire or a premade headband base. This simple yet charming accessory captures the essence of blooming gardens and adds a whimsical touch to any spring activity or photoshoot.
Materials Needed:
Dos & Don’ts:
- Do allow kids to select their favorite flowers.
- Don’t use hot glue guns without assistance.
- Do wrap floral tape tightly for durability.
- Don’t make the crown too heavy or tight.
5. DIY Bird Feeders
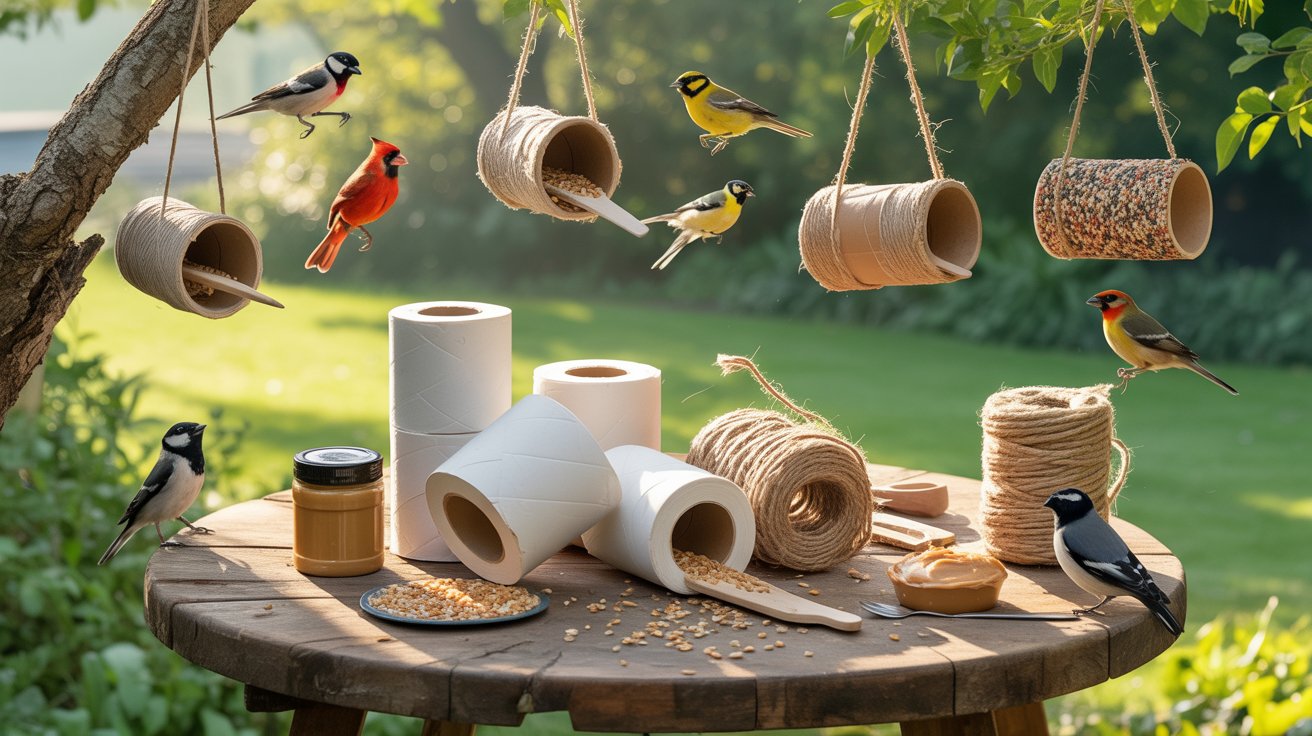
Welcome the birds back this spring by creating simple bird feeders with your kids. Use empty toilet paper rolls, coat them in peanut butter, and then roll them in birdseed. String some twine through each roll and hang them on tree branches in your garden. This craft provides an excellent opportunity for children to learn about local wildlife and enjoy birdwatching.
Materials Needed:
Dos & Don’ts:
- Do choose a safe location for hanging feeders.
- Don’t use peanut butter if there are allergy concerns; try alternatives like sunflower seed butter.
- Do involve kids in observing the types of birds that visit.
- Don’t forget to clean up the area if seeds spill over.
6. Egg Carton Caterpillars
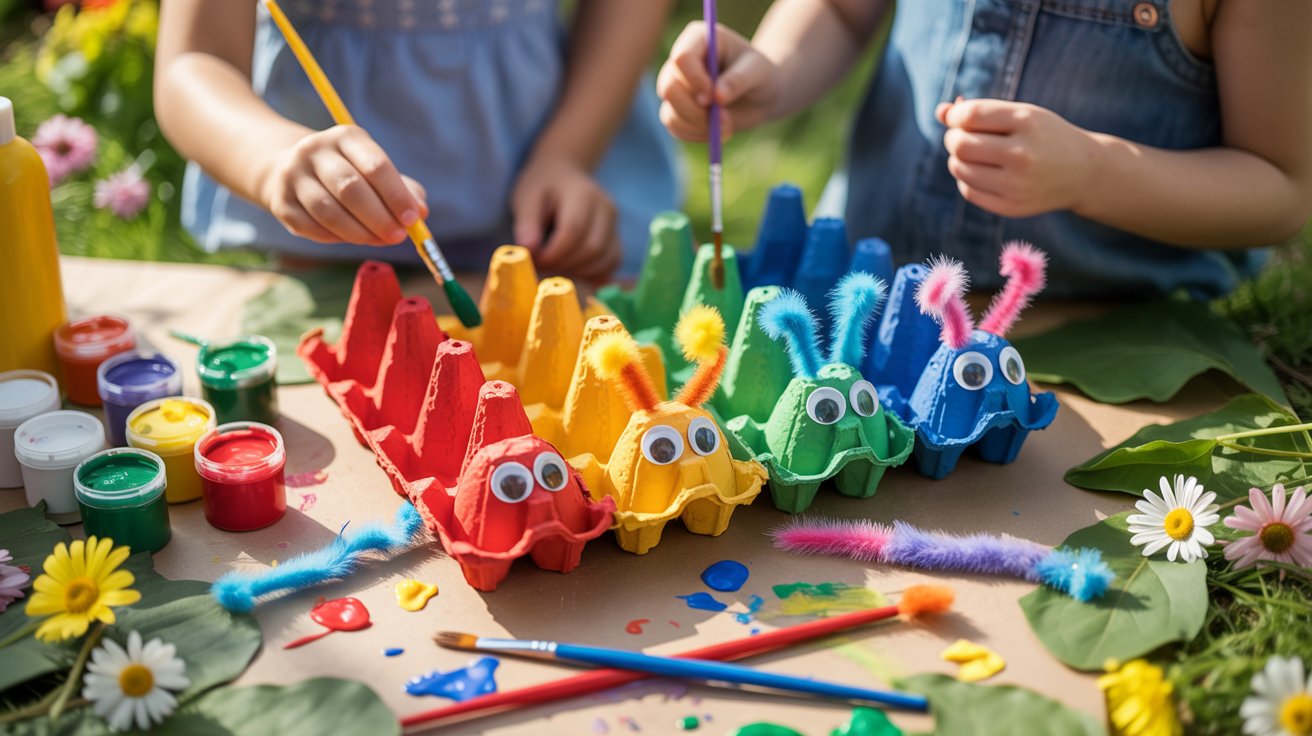
Turn ordinary egg cartons into charming caterpillars with this simple craft. Cut the egg carton into long strips and have your kids paint each segment in bright, contrasting colors. Add googly eyes, pom-poms for antennas, and pipe cleaners for legs to create delightful little caterpillars. This cheerful craft helps develop fine motor skills and sparks creativity as kids explore vibrant color combinations.
Materials Needed:
Dos & Don’ts:
- Do encourage children to customize their caterpillars with unique patterns.
- Don’t use small decorations without supervision due to choking hazards.
- Do use non-toxic paints for safety.
- Don’t forget to let each painted piece dry before assembling.
7. Tissue Paper Rainbow Collage
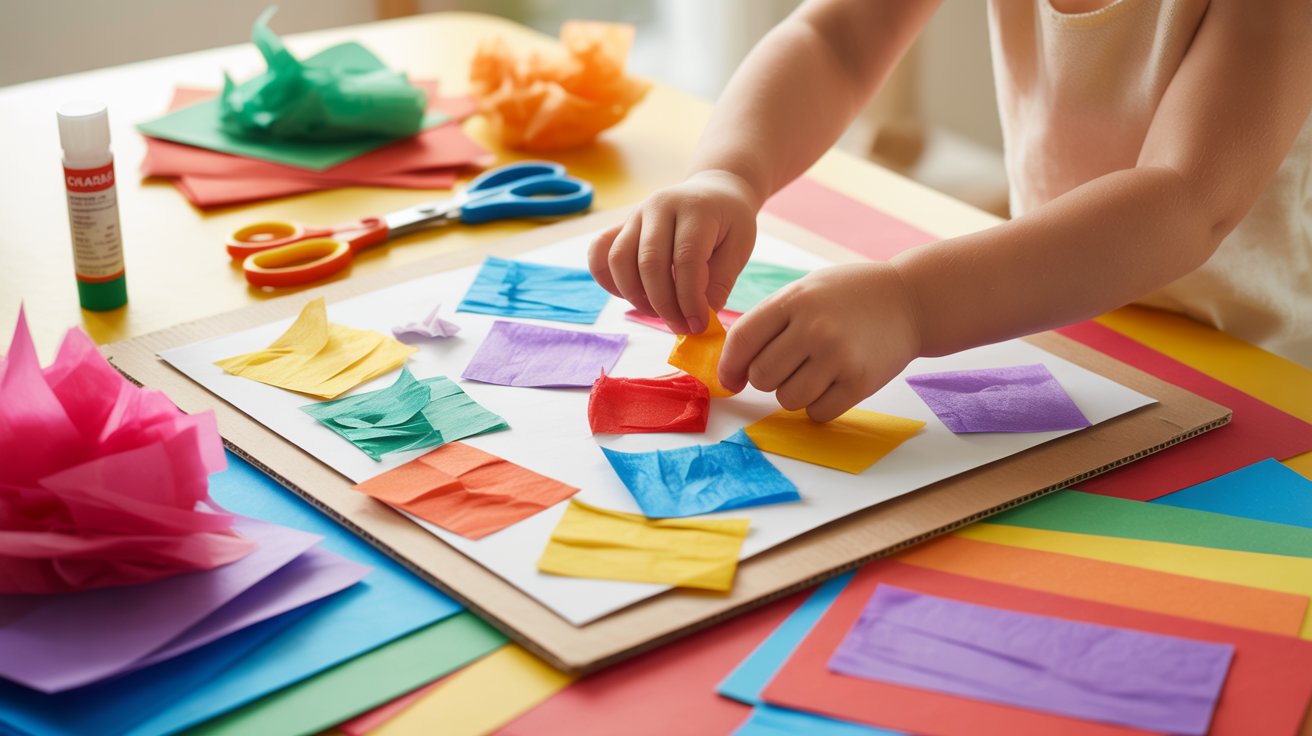
Encourage creativity with a colorful tissue paper rainbow collage. Have kids tear or cut tissue paper into small squares in a variety of colors. Using a large piece of paper or cardboard as a base, they can arrange the tissue pieces in a vibrant rainbow pattern, using glue to secure each piece. This activity teaches color recognition and enhances fine motor skills while kids enjoy the art of collage-making.
Materials Needed:
Dos & Don’ts:
- Do let children experiment with the placement of colors.
- Don’t worry about perfection; encourage abstract creativity.
- Do make cleanup easier with a plastic tablecloth.
- Don’t forget to display their artwork proudly!
8. Yarn-Wrapped Letters
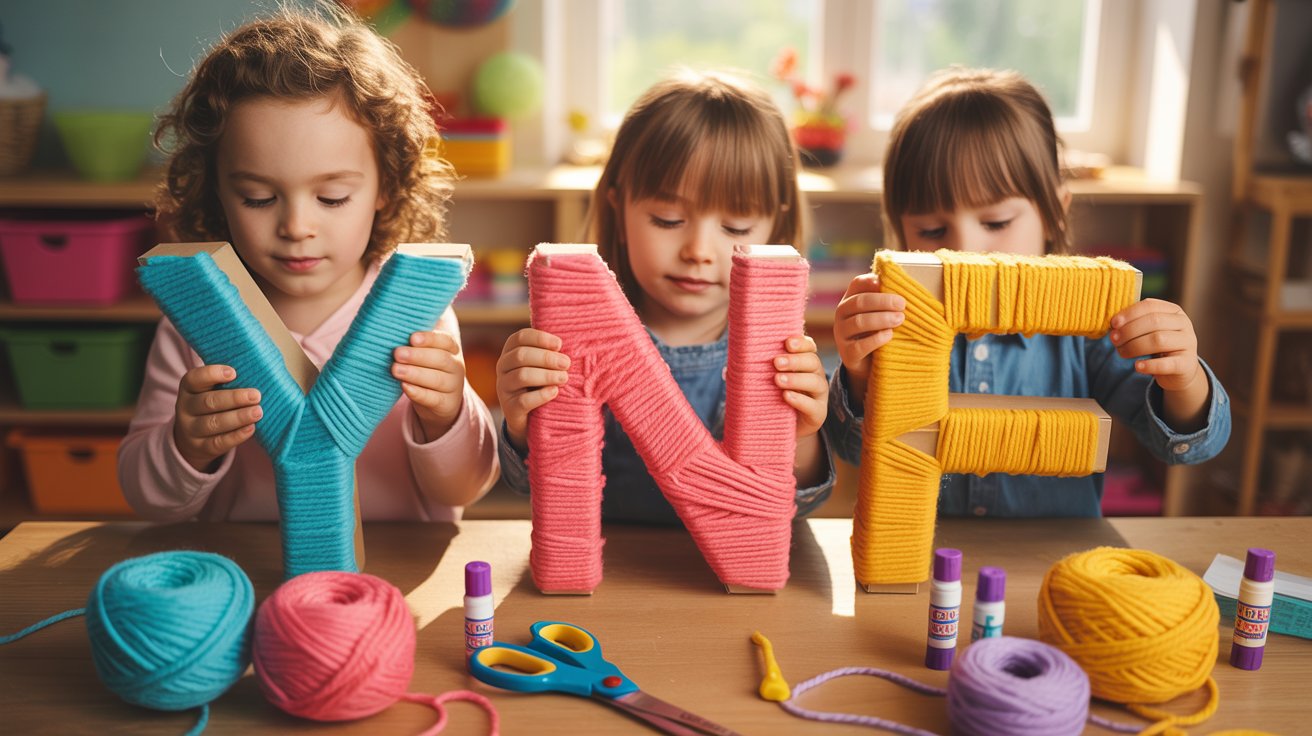
Introduce your kids to the art of yarn-wrapped letters, a fun and tactile craft that’s perfect for personalizing their space. Choose cardboard letters or cut letter shapes from sturdy cardboard, then wrap them with colorful yarn. This activity helps develop motor skills and creativity, as children select their favorite colors and experiment with different wrapping techniques.
Materials Needed:
Dos & Don’ts:
- Do mix yarn textures for added interest.
- Don’t leave sharp edges on cardboard; smooth them out first.
- Do assist younger children with starting and finishing the wraps.
- Don’t rush; ensure the yarn is tightly wrapped for durability.
9. Painted Rock Bugs
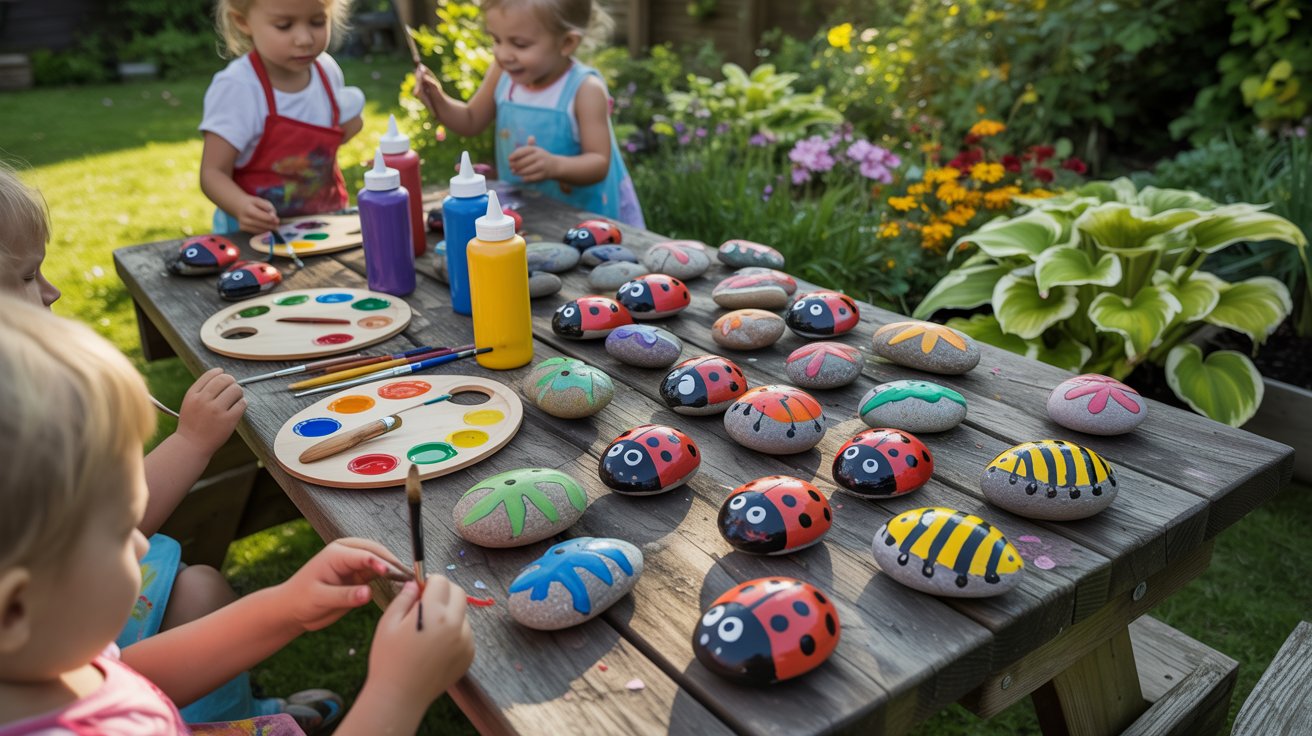
Capture the spirit of spring with these adorable painted rock bugs. Collect smooth, flat stones and have your kids paint them as various bugs like ladybugs, bees, or caterpillars using vibrant acrylic paints. Finish by adding details like eyes and antennae with a fine brush or markers. These decorative little critters can be placed in gardens or window sills, adding a touch of nature-inspired charm.
Materials Needed:
Dos & Don’ts:
- Do let each rock completely dry between colors.
- Don’t choose rocks with sharp edges or jagged surfaces.
- Do protect surfaces with newspaper or a drop cloth.
- Don’t apply too much paint at once; build up layers.
10. Pop Bottle Wind Spirals
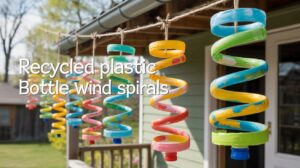
Repurpose plastic bottles into delightful wind spirals that dance in the spring breeze. Cut the bottles into continuous spiral strips and have your kids paint them in bright, cheerful colors. Once dry, hang them outdoors where they can catch the wind. This eco-friendly project encourages recycling and provides a beautiful visual display in your garden or porch area.
Materials Needed:
Dos & Don’ts:
- Do ensure edges are smooth to avoid cuts.
- Don’t use thin plastic bottles that may easily crumple.
- Do hang at varying heights for a dynamic display.
- Don’t use heavy paint layers that might weigh down the spirals.
In conclusion, these ten delightful and easy DIY crafts for kids in March offer the perfect way to celebrate the transition from winter to spring while embracing creativity and learning. Each project, from rainbow tambourines to wind spirals, not only fosters artistic expression and fine motor skills but also creates cherished memories with your little ones. These activities provide a great opportunity for family bonding and introducing children to the joys of crafting with everyday materials. Enjoy the colorful season with these engaging projects that brighten up both homes and hearts.


2 responses to “10 Easy Kids Crafts for March”
avanafil contraindication factors
avanafil contraindication factors
avanafil safe purchasing
avanafil safe purchasing