Affiliate Disclosure: This blog contains affiliate links. As an Amazon and AI program affiliate, I earn from qualifying purchases.
Creating your own DIY Essential Oils Soap is not just a craft; it’s a rejuvenating experience that brings the spa right into your home. If you’ve been yearning for natural, personalized skincare or a sense of accomplishment with each use, then you’re in for a treat. Join me as we delve into this serene journey, promising to equip you with all the knowledge you need to craft soaps that pamper and nourish your skin and soul.
1. Understanding the Basics of Soap Making
Soap making may seem daunting at first, but it’s a rewarding craft that blends creativity with practical benefits. By mastering the basics, you’re not just crafting a product; you’re creating a custom skincare solution tailored to your personal needs and preferences. Bringing together simple ingredients through reliable methods can transform your daily skincare routine with artisan soaps that promise both hygiene and indulgence. This section will break down the essential components and techniques to start your journey into the world of homemade soap making, setting the foundation for all the fun and customization to follow.
Dos & Don’ts:
- Do measure your ingredients accurately.
- Don’t mix different types of lye.
- Do follow safety guidelines.
- Don’t rush the curing process.
2. Choosing the Right Essential Oils
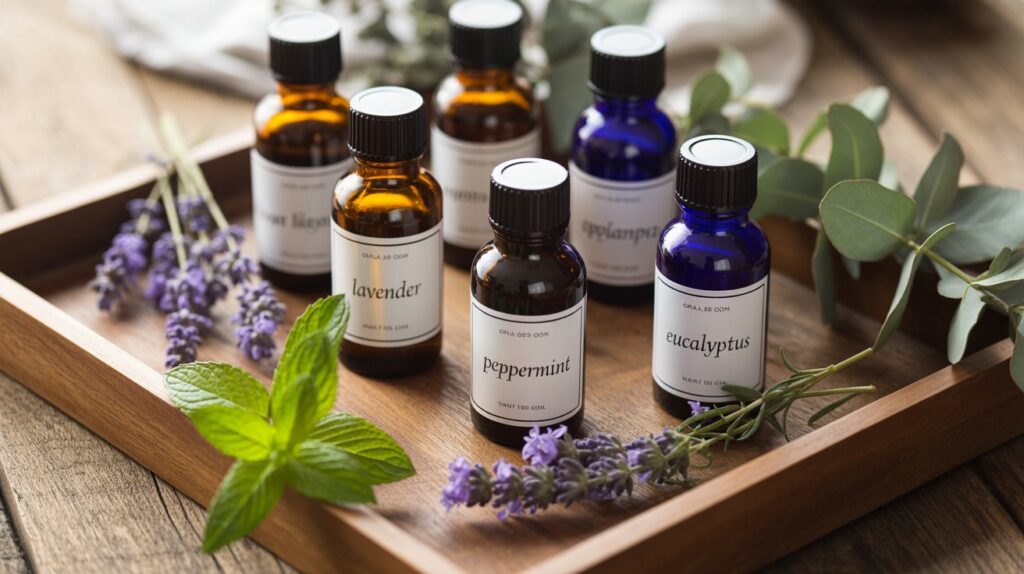
Selecting the perfect essential oils is a crucial step in crafting soaps that are both delightfully fragrant and beneficial to your skin. Essential oils do more than just add scent; they can transform your soap into a therapeutic experience, addressing specific skin concerns and mood needs. With such a broad array of essential oils available, finding the right combinations allows you to tailor your soap to individual preferences and skin types. This section will guide you through selecting essential oils that harmonize perfectly with your soap-making goals, ensuring your creations are as effective as they are aromatic.
Dos & Don’ts:
- Do check for skin sensitivities.
- Don’t overuse oils.
- Do blend oils for unique scents.
- Don’t use synthetic fragrances.
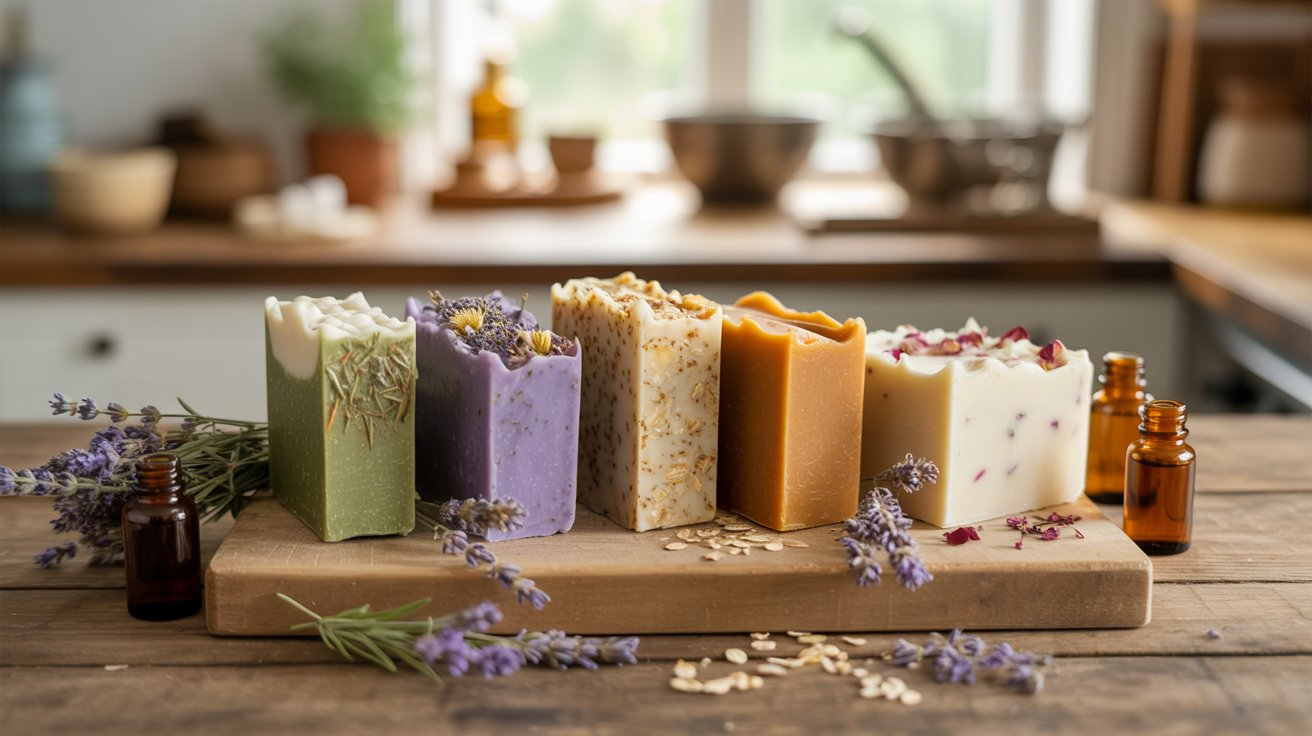
3. Exploring Color Palettes
Color is a powerful tool in soap making, transforming your creations into captivating works of art. By exploring diverse color palettes, you not only bring your soaps to life, but you also express individuality and craftsmanship. With a range of natural and safe colorants available, you can achieve vibrant hues and subtle pastels that enhance the aesthetic appeal of your soaps. This section highlights how to effectively use natural colorants to elevate your soap designs, ensuring each bar is as visually delightful as it is functional.
Dos & Don’ts:
- Do use natural colorants.
- Don’t exceed recommended usage levels.
- Do test colorants beforehand.
- Don’t mix incompatible colors.
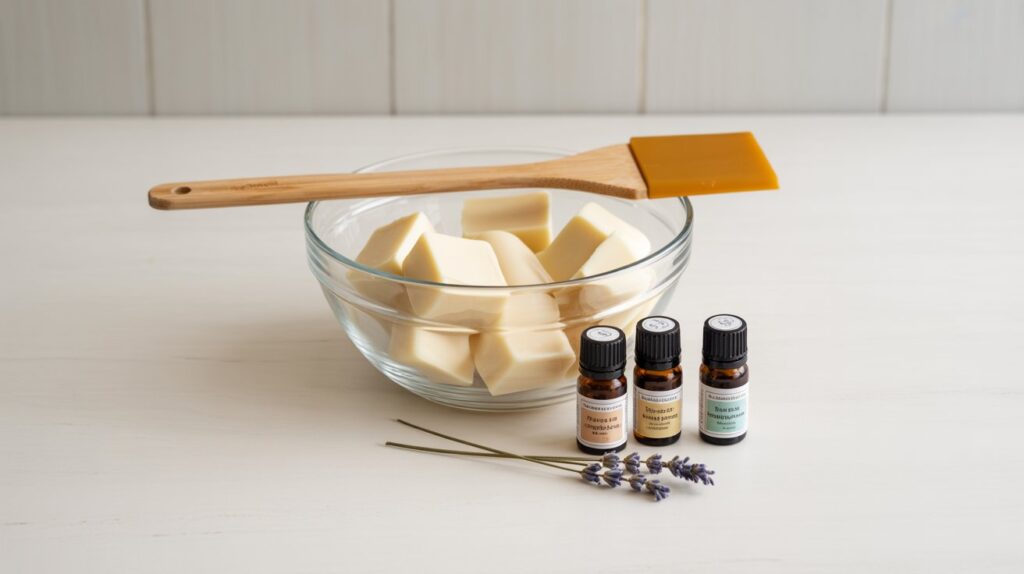
4. Mastering the Melt and Pour Technique
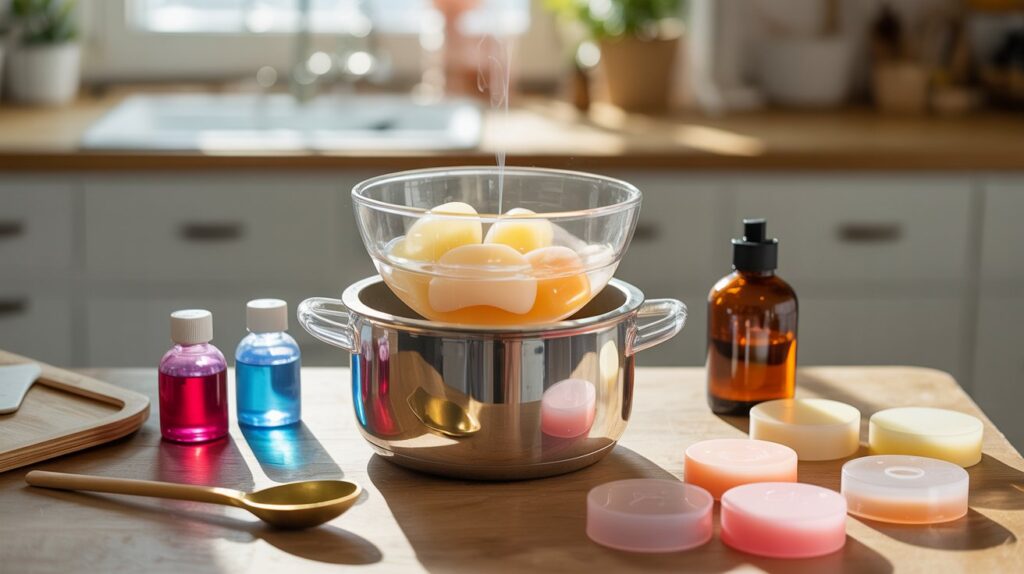
The melt and pour technique is an ideal starting point for novices in soap making, offering both simplicity and creativity. This method eliminates complex processes, focusing on the joy of personalizing your creations with colors, fragrances, and unique additives. By melting pre-made soap bases, you can experiment freely and craft exquisite soaps without the need for extensive experience or equipment. This section will guide you through the essential steps and tips for successfully using this technique, making it a perfect gateway to soap artistry.
Dos & Don’ts:
- Do use a double boiler for melting.
- Don’t overheat soap bases.
- Do stir gently to avoid bubbles.
- Don’t rush pouring into molds.
5. Picking the Perfect Molds
Choosing the right molds is a pivotal step in bringing your soap-making vision to life. The mold you select not only determines the shape and size of your soap but also influences its visual appeal and user experience. With a variety of materials and designs available, from sleek silicone to rustic wood, the possibilities are endless. The perfect mold enhances your creative expression, allows for experimentation, and ensures your soaps are both beautiful and functional. Dive into this section to explore the diverse options available and find molds that perfectly capture your style and needs.
Dos & Don’ts:
- Do choose durable molds for frequent use.
- Don’t use porous materials that can stick.
- Do experiment with different shapes.
- Don’t overcrowd molds with additives.
6. Infusing Texture with Natural Ingredients
Integrating texture into your handmade soaps not only enhances their aesthetic appeal but also enriches the sensory experience for users. Natural ingredients like oatmeal, botanicals, and herbs not only add visual interest but can also offer exfoliating and therapeutic benefits. By thoughtfully selecting and incorporating these elements, you can create soaps that delight the eyes and pamper the skin. In this section, we’ll explore the diverse textures you can achieve with natural additives, helping you craft soaps that stand out for their beauty and functionality.
Dos & Don’ts:
- Do pre-test for skin friendliness.
- Don’t use too large particles.
- Do blend textures with visual appeal.
- Don’t overuse any single ingredient.
7. Crafting Unique Fragrance Blends
The fragrance of your soap is its unique signature, defining its character and appeal. Creating a custom scent blend elevates your soap from a mere cleaning product to an olfactory experience. Blending essential oils allows you to cater to various preferences, evoke certain moods, and even provide therapeutic benefits. By mastering the art of fragrance creation, you can develop a signature scent that distinguishes your soaps in the market or makes them a cherished gift. In this section, we’ll guide you through balancing top, middle, and base notes as well as some popular combinations to inspire your next aromatic masterpiece.
Dos & Don’ts:
- Do balance top, middle, and base notes.
- Don’t overpower with strong oils.
- Do use drop guides for proportion.
- Don’t ignore potential skin reactions.
8. Ensuring Longevity with Soap Preservatives
Preserving the freshness and extending the shelf life of your handmade soaps is crucial for maintaining their quality and appeal. Unlike commercial soaps, natural ingredients can lead to shorter shelf lives, making the use of preservatives essential. Choosing the right natural preservatives ensures that your soaps remain effective and safe for use over time. This section explores a range of natural options that maintain aesthetic appeal and prevent spoilage, allowing your soaps to deliver consistent luxury with every use. Let’s examine methods to effectively preserve your creations, ensuring they continue to delight long after they’ve been crafted.
Dos & Don’ts:
- Do research natural options.
- Don’t skip testing for allergies.
- Do label your concoctions accurately.
- Don’t assume preservatives are unnecessary.
9. Curing and Storing Your Soap
Successfully curing and storing your soaps is essential to achieving the perfect texture and longevity. This critical phase not only enhances the soap’s hardness and durability but also improves its overall performance and lifespan. By understanding the nuances of the curing process and optimal storage conditions, you can preserve the quality and scent of your soaps, ensuring they provide a luxurious experience for users. Let’s explore the best practices to master curing and storage, maximizing the value of your handcrafted creations.
Dos & Don’ts:
- Do ensure adequate air circulation.
- Don’t rush the curing period.
- Do keep away from direct sunlight.
- Don’t stack before curing completes.
10. Packaging for Gifting and Selling
Packaging plays a crucial role in presenting your handmade soaps, whether as gifts or for sale. Not only does it protect the product, but it also serves as an extension of your brand and creativity. A well-packaged soap not only attracts buyers but also elevates the overall experience for the recipient. By selecting attractive, functional, and eco-friendly packaging, you ensure that your soaps stand out while showcasing your commitment to quality and sustainability. Let’s dive into the best practices for packaging your creations, ensuring they leave a lasting impression.
Dos & Don’ts:
- Do keep packaging simple yet elegant.
- Don’t ignore eco-friendly materials.
- Do personalize packaging for gifts.
- Don’t forget to label ingredients.
Affiliate Disclosure: This blog contains affiliate links. As an Amazon Associate, I earn from qualifying purchases.
Ready to embark on your soap-making adventure? Check out our curated selection of Beginner Soap Making Kits, Melt and Pour Soap Bases, and versatile Soap Molds to kickstart your journey. These handpicked essentials are perfect for creating your first luxurious, homemade soaps. Dive in and start crafting today!